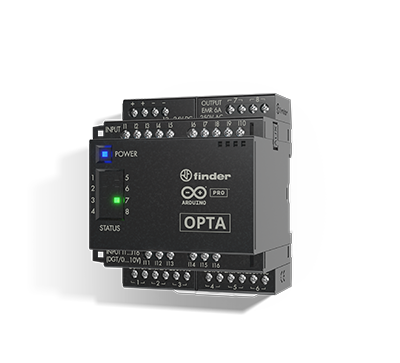
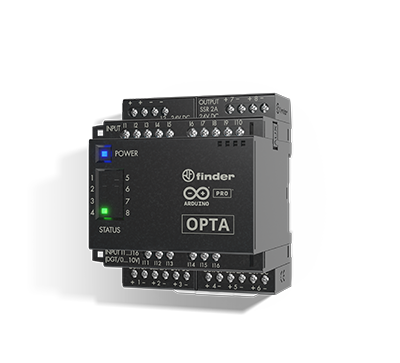
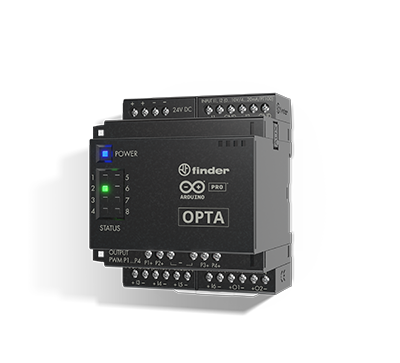
FINDER OPTA ARDUINO

la gamma opta arduino
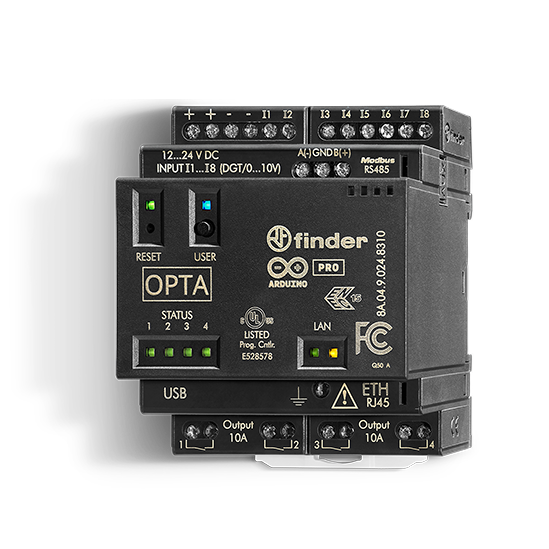
Il PLR Finder OPTA Arduino unisce l’esperienza industriale di Finder all’innovazione tecnologica di Arduino, per un prodotto veramente unico sul mercato. Progettato pensando alla facilità di implementazione, sfrutta la vasta gamma di librerie e sketch / software disponibili nella piattaforma Arduino Pro, per qualsiasi tipo di applicazione.
Questo contribuisce notevolmente nella riduzione dei tempi di programmazione, con un risparmio anche di diversi giorni, a seconda della complessità dell’applicazione. Questi dispositivi sono programmabili gratuitamente sia con linguaggi tradizionali IEC61131-3 (Ladder, FBD, ecc.) che con il linguaggio open source IDE di Arduino. La gamma OPTA Arduino comprende tre diverse versioni, LITE, PLUS e ADVANCED.
- LITE
- PLUS
- ADVANCED
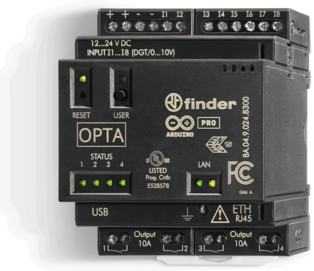
LITE
Tipo 8A.04.9.024.8300
- Alimentazione 12…24 V DC
- 8 INPUT Digitali/Analogici (0...10 V, 0... 24 V)
- 4 contatti NO di uscita a relè 10 A
-
Porta USB (di tipo C) ad alta velocità per:
- Programmazione
- Alimentazione durante la programmazione
- Salvataggio dati (tramite memory stick)
- RJ45 per connessioni Ethernet o MODBUS TCP/IP
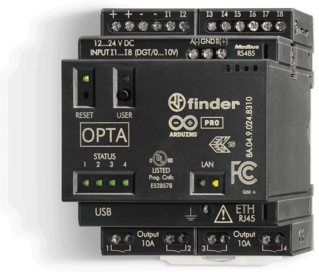
PLUS
Tipo 8A.04.9.024.8310
- Alimentazione 12…24 V DC
- 8 INPUT Digitali/Analogici (0...10 V, 0... 24 V)
- 4 contatti NO di uscita a relè 10 A
-
Porta USB (di tipo C) ad alta velocità per:
- Programmazione
- Alimentazione durante la programmazione
- Salvataggio dati (tramite memory stick)
- RJ45 per connessioni Ethernet o MODBUS TCP/IP
- Porta RS485 per connessione seriali e MODBUS RTU
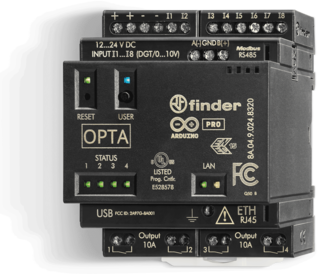
ADVANCED
Tipo 8A.04.9.024.8320
- Alimentazione 12…24 V DC
- 8 INPUT Digitali/Analogici (0...10 V, 0... 24 V)
- 4 contatti NO di uscita a relè 10 A
-
Porta USB (di tipo C) ad alta velocità per:
- Programmazione
- Alimentazione durante la programmazione
- Salvataggio dati (tramite memory stick)
- RJ45 per connessioni Ethernet o MODBUS TCP/IP
- Porta RS485 per connessione seriali e MODBUS RTU
- Modulo Wi-Fi/BLE integrato
Unico sul mercato
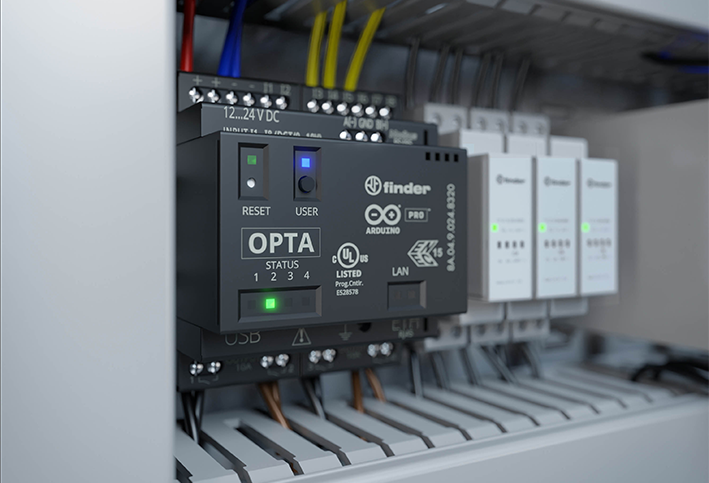
Finder OPTA è un prodotto unico sul mercato per la sua connettività ultra sicura a livello hardware, per la possibilità di eseguire aggiornamenti firmware OTA (Over-the-Air), per la versatilità di programmazione (tramite software open source o linguaggi PLC standard) e per le sue opzioni di connettività.
 Moduli di espansione
I moduli di espansione OPTA moltiplicano le possibilità di applicazione del relè a logica programmabile, per una versatilità di utilizzo senza precedenti.
I moduli di espansione sono progettati con l’obiettivo di aggiungere inputs e/o outputs ai diversi progetti di automazione - con un limite massimo di cinque moduli disponibili per tutte le versioni di OPTA (Lite, Plus, Advanced) - aumentando gli ingressi (per un massimo di 80 ingressi nella versione digitale e 30 ingressi per quella analogica) e le uscite (fino a 40 uscite per la versione digitale e 30 per quella analogica).
La connessione tra i vari moduli è possibile grazie a una porta ausiliaria AUX, presente sul fianco dei dispositivi.
Espansioni disponibili per una maggiore flessibilità d'uso
La gamma OPTA include due moduli di espansione in versione digitale e un modulo di espansione in versione analogica.
ALIMENTATORE SWITCHING PER OPTA ARDUINO
L'alimentatore permette a OPTA di funzionare correttamente anche con l'attivazione di carichi, evitando problemi di interruzione di elaborazione o funzionamento e proteggendolo da ciò che accade nel sistema elettrico. L'utente ha, quindi, la garanzia di installare un prodotto affidabile e di lunga durata.
Scarica il datasheet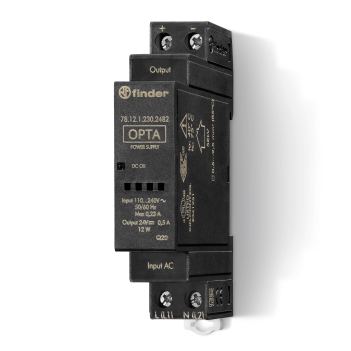
Alimentatore Switching 12 W per OPTA
Tipo 78.12.1.230.2482
- Alimentatore switching 24 V DC
- Corrente di picco: 2 A
- 12 W in un modulo DIN (17.5 mm)
- Protezione al cortocircuito
- Protezione termica
- Protezione dalle sovratensioni integrata
- SELV
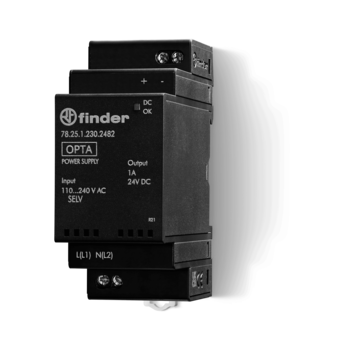
Alimentatore switching 25 W per OPTA
Tipo 78.25.1.230.2482
- Alimentatore switching 24 V DC
- Corrente di picco: 3 A
- 25 W in due moduli DIN (35 mm)
- Protezione al cortocircuito
- Protezione termica
- Protezione dalle sovratensioni integrata
- SELV
Guide e tutorial
Scopri tutte le guide, i tutorial e la documentazione tecnica
necessaria per programmare in modo semplice e intuitivo Finder OPTA.
USER MANUAL
Manuale utente OPTA
DettagliIDE
PORTE E CONNESSIONI
Come utilizzare l’interfaccia RS 485
DettagliCome utilizzare il protocollo seriale Modbus RTU
DettagliBluetooth® Low Energy, Wi-Fi® ed Ethernet su OPTA
DettagliConnettere OPTA tramite Ethernet
DettagliInvio di richieste HTTP con OPTA
DettagliModbus TCP su OPTA usando PLC IDE
DettagliAPPLICAZIONI
Come monitorare il livello liquidi con OPTA
DettagliApplicazioni OPTA
DownloadIniziare con OPTA™ e Finder 6M
DettagliIniziare con OPTA™ e Finder 7M
DettagliMultithreading con OPTA™ e Finder 7M
DettagliCome realizzare uno sketch in Ladder su OPTA
GuardaConfigurare un timer Watchdog su OPTA
DettagliWeb Server su OPTA
DettagliBLE Peripheral su OPTA
DettagliPubblica le misure lette da un Serie 7M via BLE utilizzando OPTA
DettagliAggiornamento con USB
DettagliTermoregolazione serbatoi industriali
DettagliGestione dell'energia con OPTA
DettagliOPTA Energy Monitor - Tutorial software
GuardaINFO GAMMA
Info sulla gamma completa
GuardaCollegamenti di Finder OPTA e caso applicativo
GuardaIniziare con OPTA
DettagliFascicolo tecnico
DownloadManuale di istruzioni OPTA
DownloadManuale di istruzioni moduli di espansione
DownloadF.A.Q.
Domande frequenti
Download
software
OPTA è un prodotto potente, sicuro e semplice da programmare.
La partnership con Arduino Pro permette di integrare la piattaforma open source del marchio e la semplicità di programmazione degli sketch Arduino, senza tuttavia rinunciare alla suite di linguaggi tradizionali con riferimento allo standard IEC 61131-3 per programmazione PLC, come LADDER, FBD, ecc.
Scegli se scaricare il software open source di Arduino IDE nella sua versione più aggiornata, se utilizzare il web editor online o se scaricare l’ambiente di sviluppo per la programmazione con linguaggi IEC61131-3 (LD, FBD,ST, IL, SFC).

PROGRAMMA CON Arduino IDE
IDE Arduino
Per programmare in locale
Web editor online
Per programmare online
PROGRAMMA CON LINGUAGGI
TRADIZIONALI (IEC61131-3)
Scarica Arduino PLC IDE 1.0.8
In questo ambiente di sviluppo potrai programmare gratuitamente con i linguaggi di programmazione IEC61131-3 (IL, LD, ST, FBD, SFC).
OPTA Factory Reset
OPTA Factory Reset
Scarica il software per il factory reset dei dispositivi
OPTA Energy Monitor
OPTA ENERGY MONITOR
Il software per l'energy monitoring e il datalogging dei dati di consumo energetici
Community
Segui e partecipa alle discussioni in corso su Finder OPTA e le sue applicazioni.
Richiedi informazioni
Compila il form sottostante per richiedere maggiori informazioni.
Il team Finder è a tua disposizione per supportarti nella realizzazione del tuo progetto.
