Anleitungen und Tutorials |
Getting started with Finder OPTA and PLC IDE
Guide for installing Arduino PLC IDE and activating Finder OPTA license.
Overview
Arduino PLC IDE allows you to program Finder OPTA using the five
standard IEC 61131-3 languages: Ladder Diagram (LD), Functional Block
Diagram (FBD), Structured Text (ST), Sequential Function Chart (SFC), and
Instruction List (IL).
This guide shows how to connect Finder OPTA to Arduino PLC IDE, activate the
device license, and configure it for proper use with the development
environment.
What you will need
Before you begin, make sure you have:
- PLC Finder OPTA (x1)
- USB-C cable (x1)
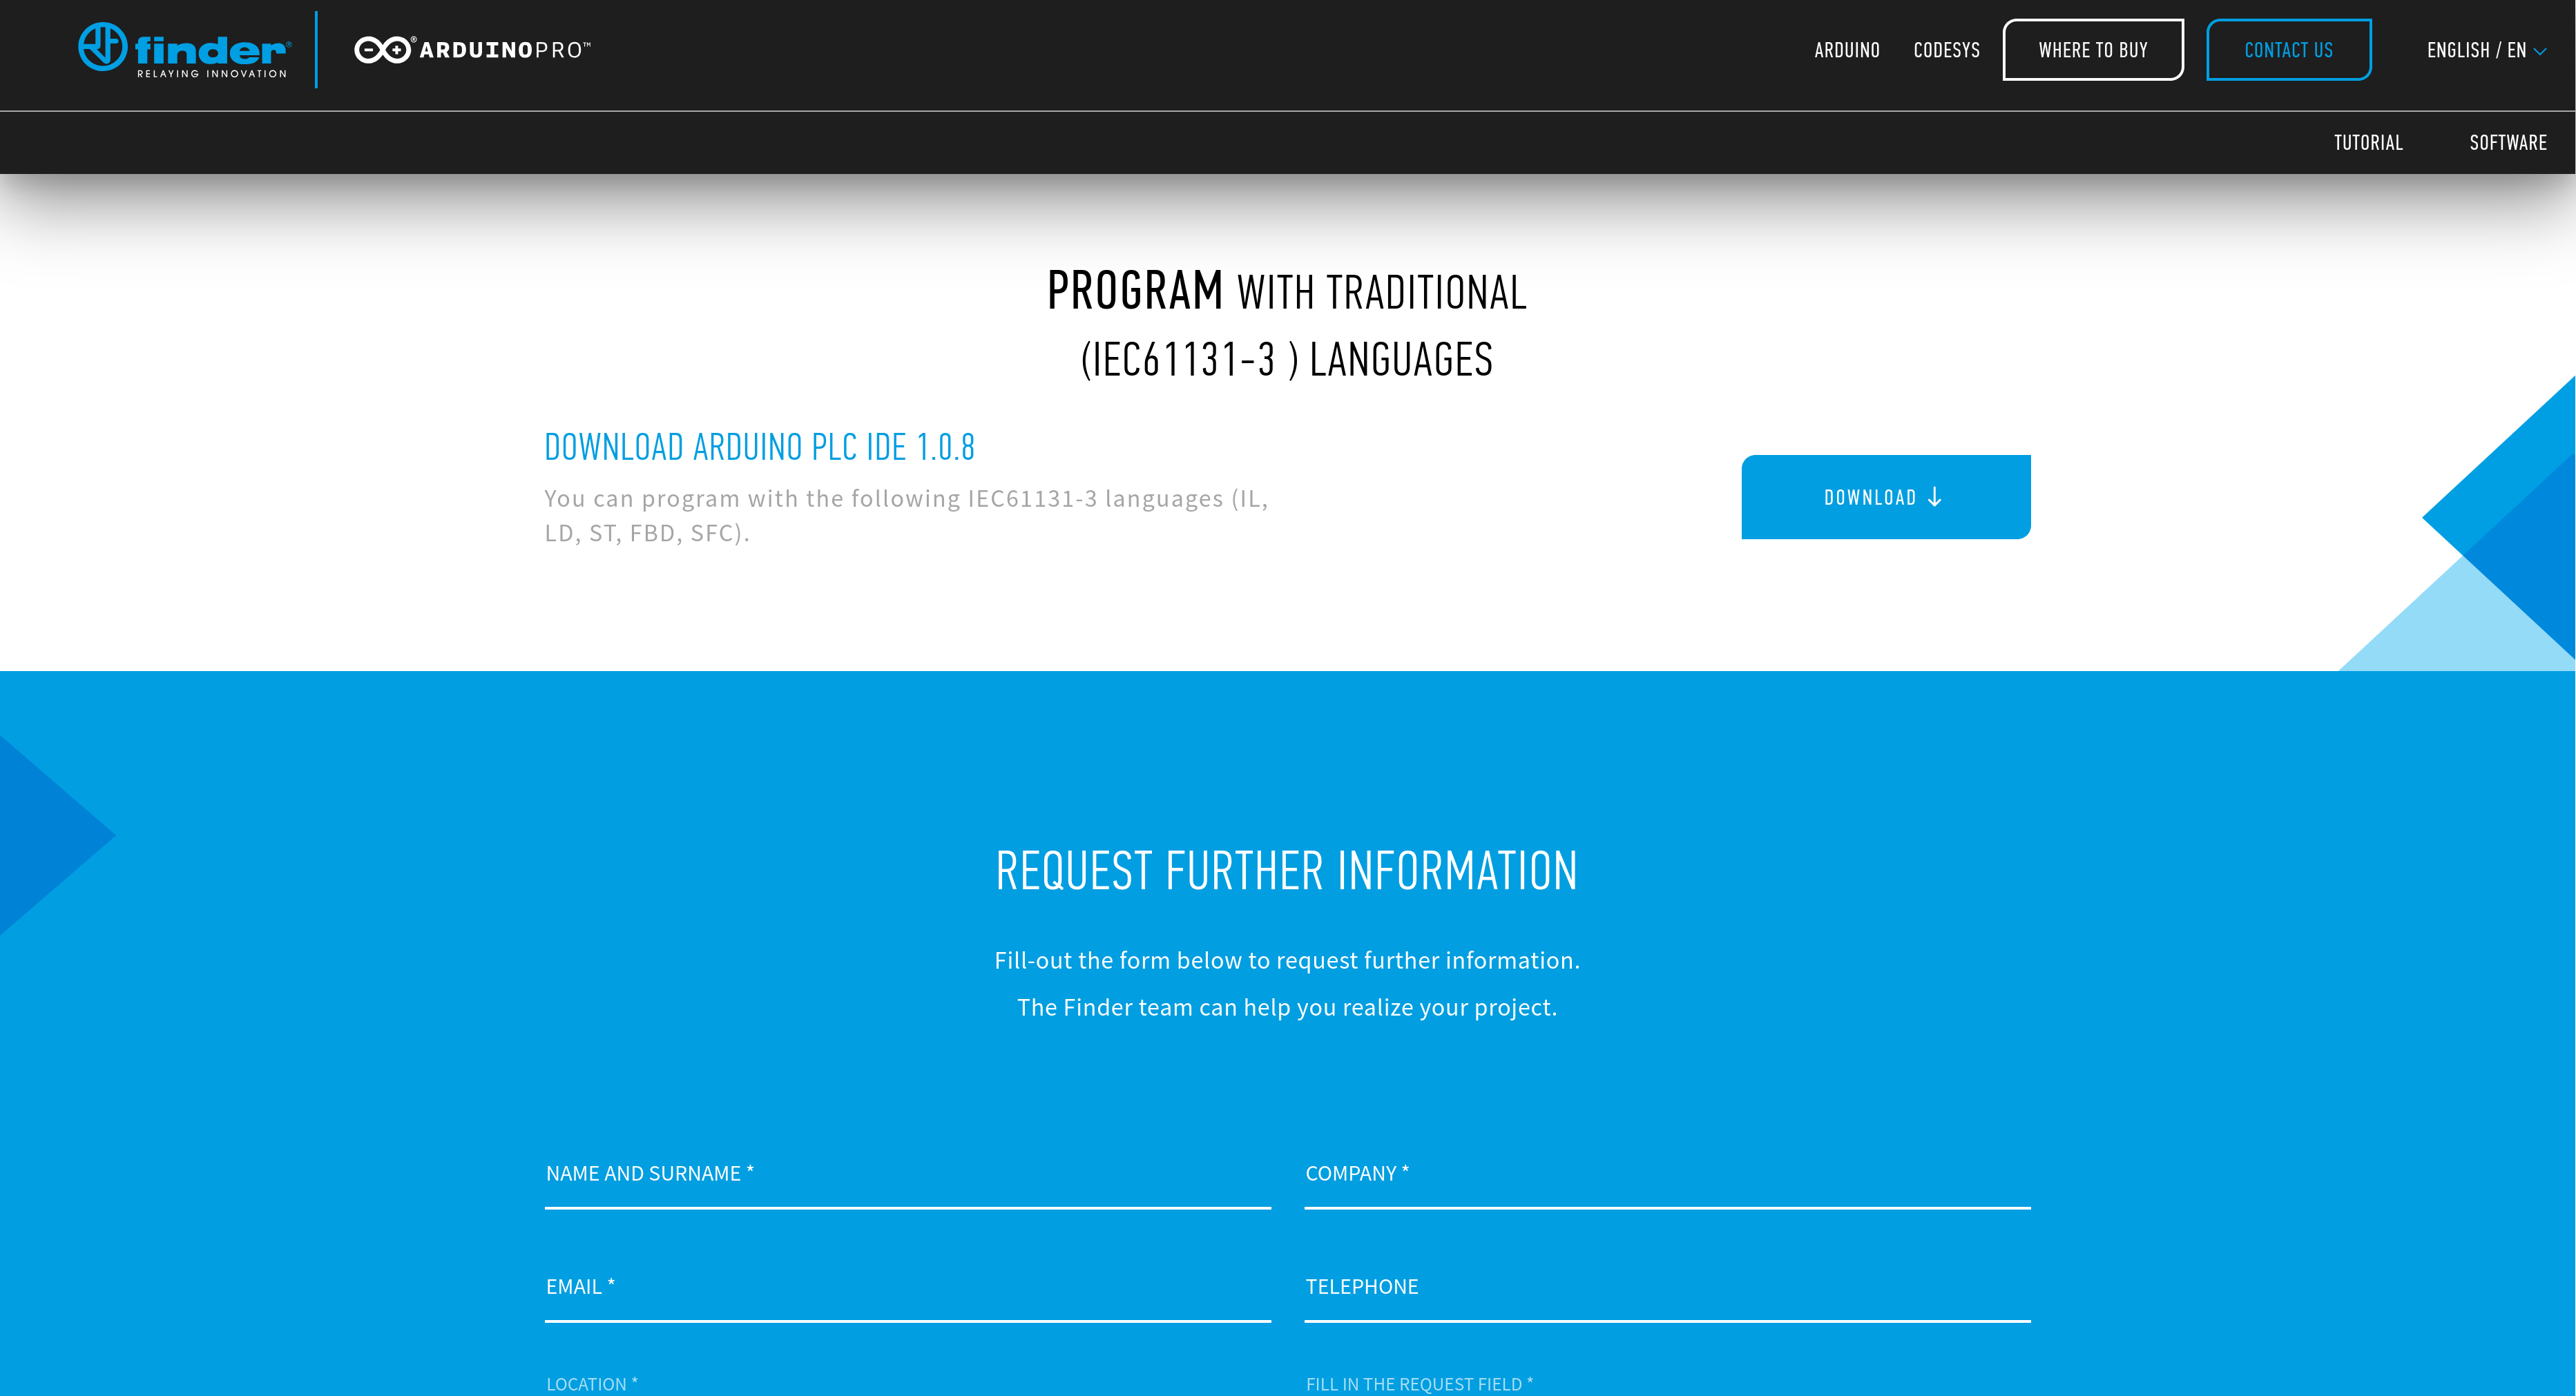
- The Arduino PLC IDE installer. You can download it at this
link.
Instructions
To get the Arduino PLC IDE software, visit the official site and download the
installer named Arduino PLC IDE Installer. The software is compatible with
Windows 10 or later on x64 architectures.
The installer includes the IDE and all necessary drivers, libraries, and cores
to use Finder OPTA.
Note: If you’ve previously installed Arduino PLC IDE, ensure old versions
are removed. Also, delete the folder C:\Users\<username>\AppData\Local\T.
Installing Arduino PLC IDE
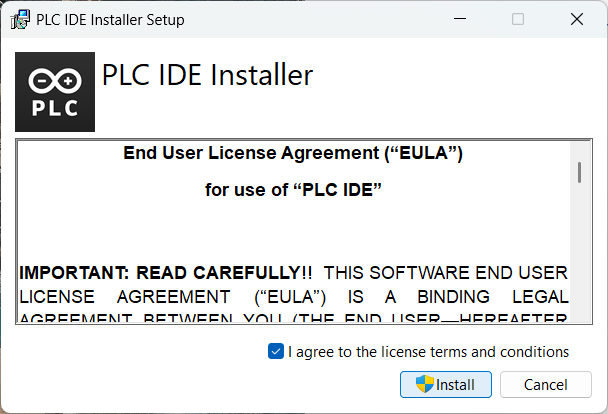
Before starting, you must accept the license agreement. Check the confirmation
box and click Install to proceed.
First, the PLC IDE Tools will be installed, a set of essential tools for
the IDE to function correctly. Click Next to continue.

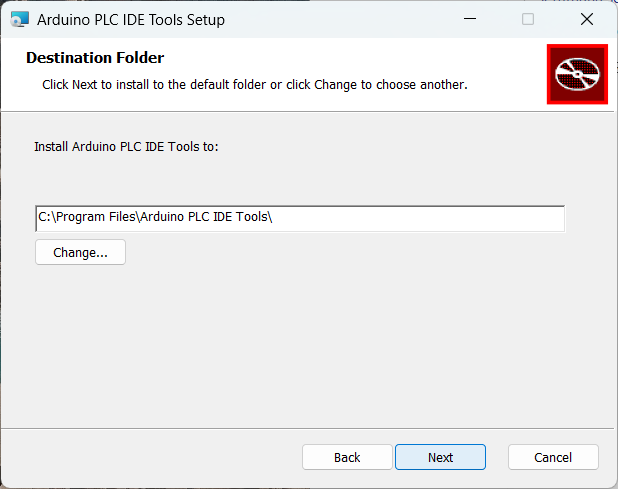
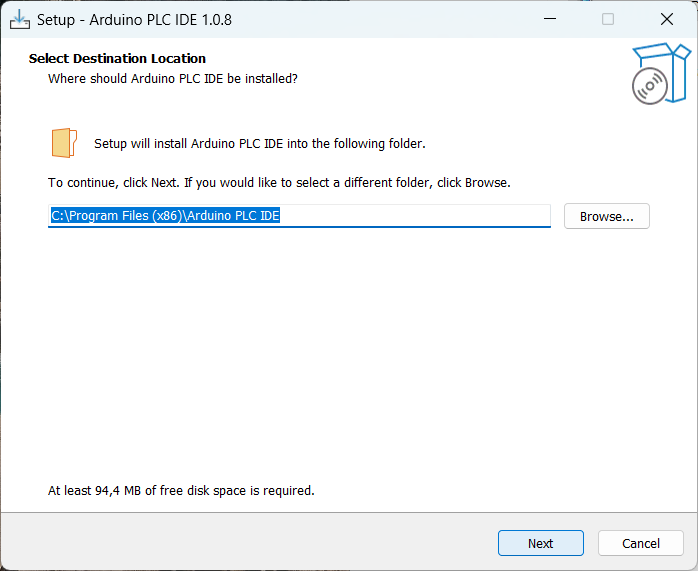
Next, you’ll be asked to choose an installation directory for the PLC IDE
Tools. Choose a destination folder or use the default path, then click
Next:
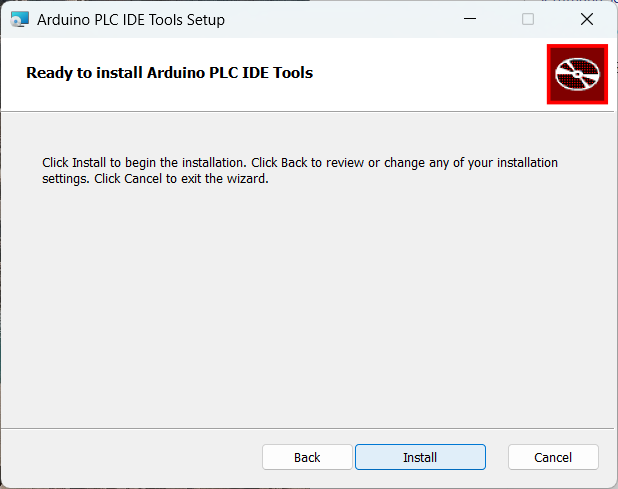
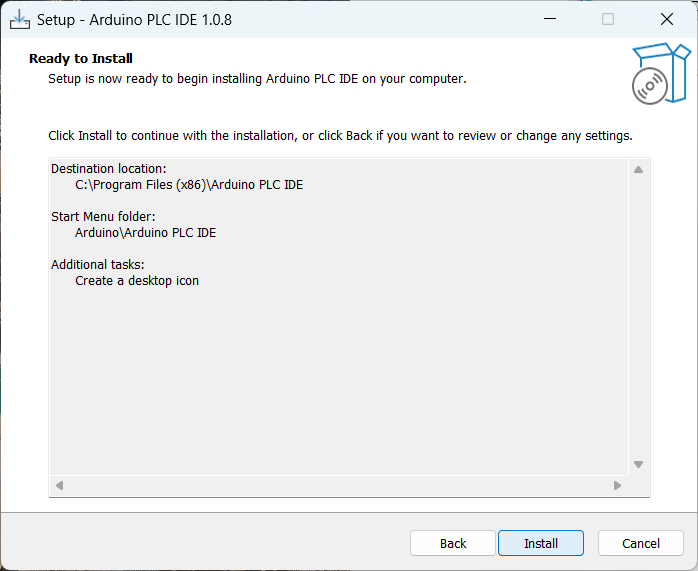
Click Install to start installing PLC IDE Tools in the selected
destination:
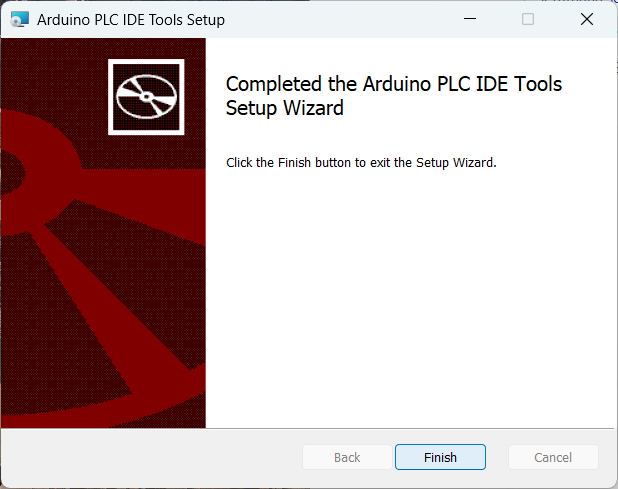
Once installation completes, press the Finish button to continue.
Now the Arduino PLC IDE setup will launch. Again, select a destination folder
and press Next.
Proceed with installation by clicking the Install button.
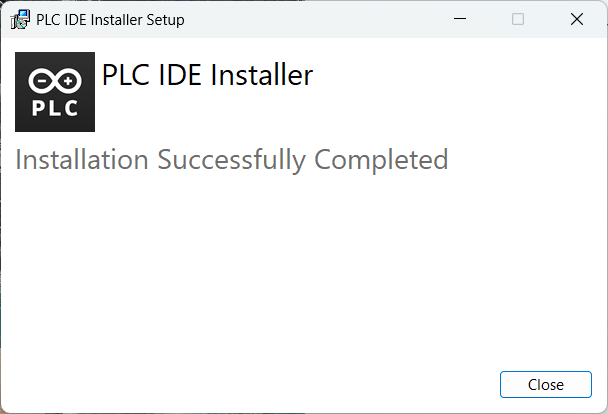
After the installation completes, press Finish to close the window.
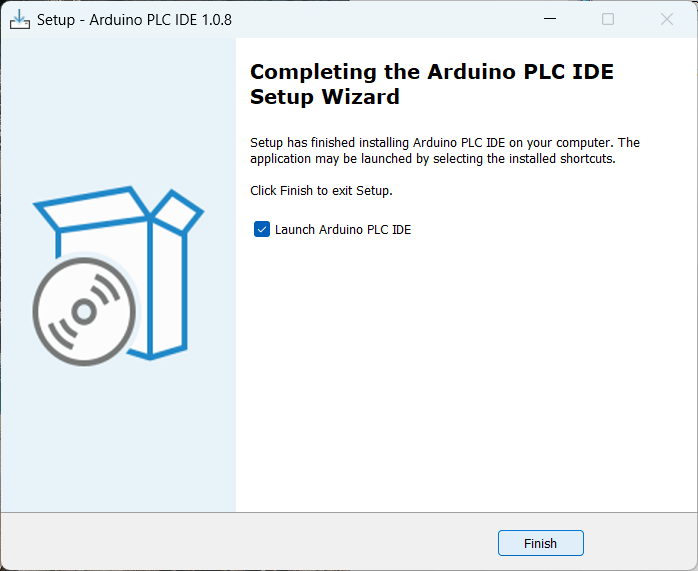
A final window will appear; close it to exit the installer.
Note: If the software does not work correctly after installation, restarting
your computer can help complete the integration of drivers, libraries, and
dependencies. If issues persist, try reinstalling with antivirus disabled and
running the setup with administrative privileges.
Creating the project and installing the runtime
This section explains how to create a new project with Finder OPTA and install
the runtime on the device using Arduino PLC IDE. This step is essential as the
runtime acts as a communication bridge between Finder OPTA and the development
environment.
First, connect Finder OPTA to your computer using the USB-C cable and open
Arduino PLC IDE. The welcome screen will appear:
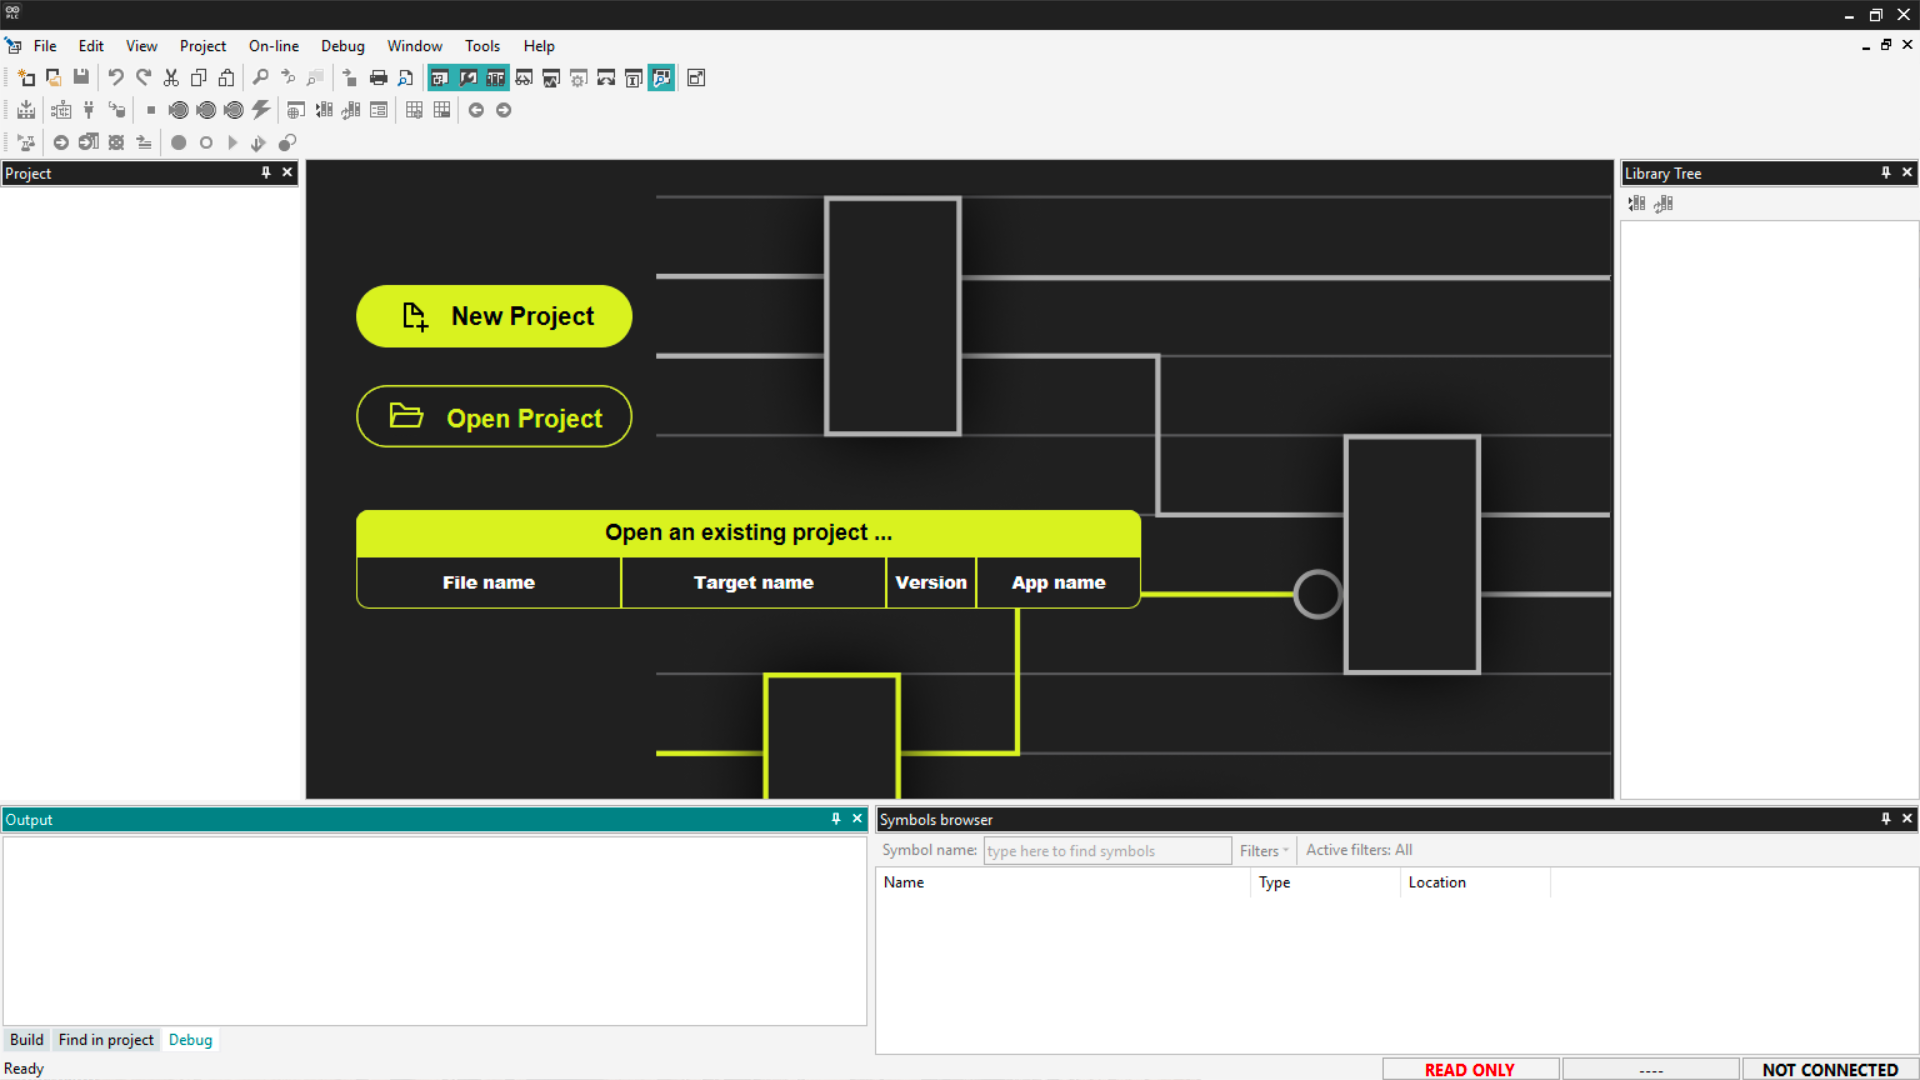
To begin, create a new project by clicking the New project button or
File > New project. Ensure the selected system for the project is Opta 1.2.
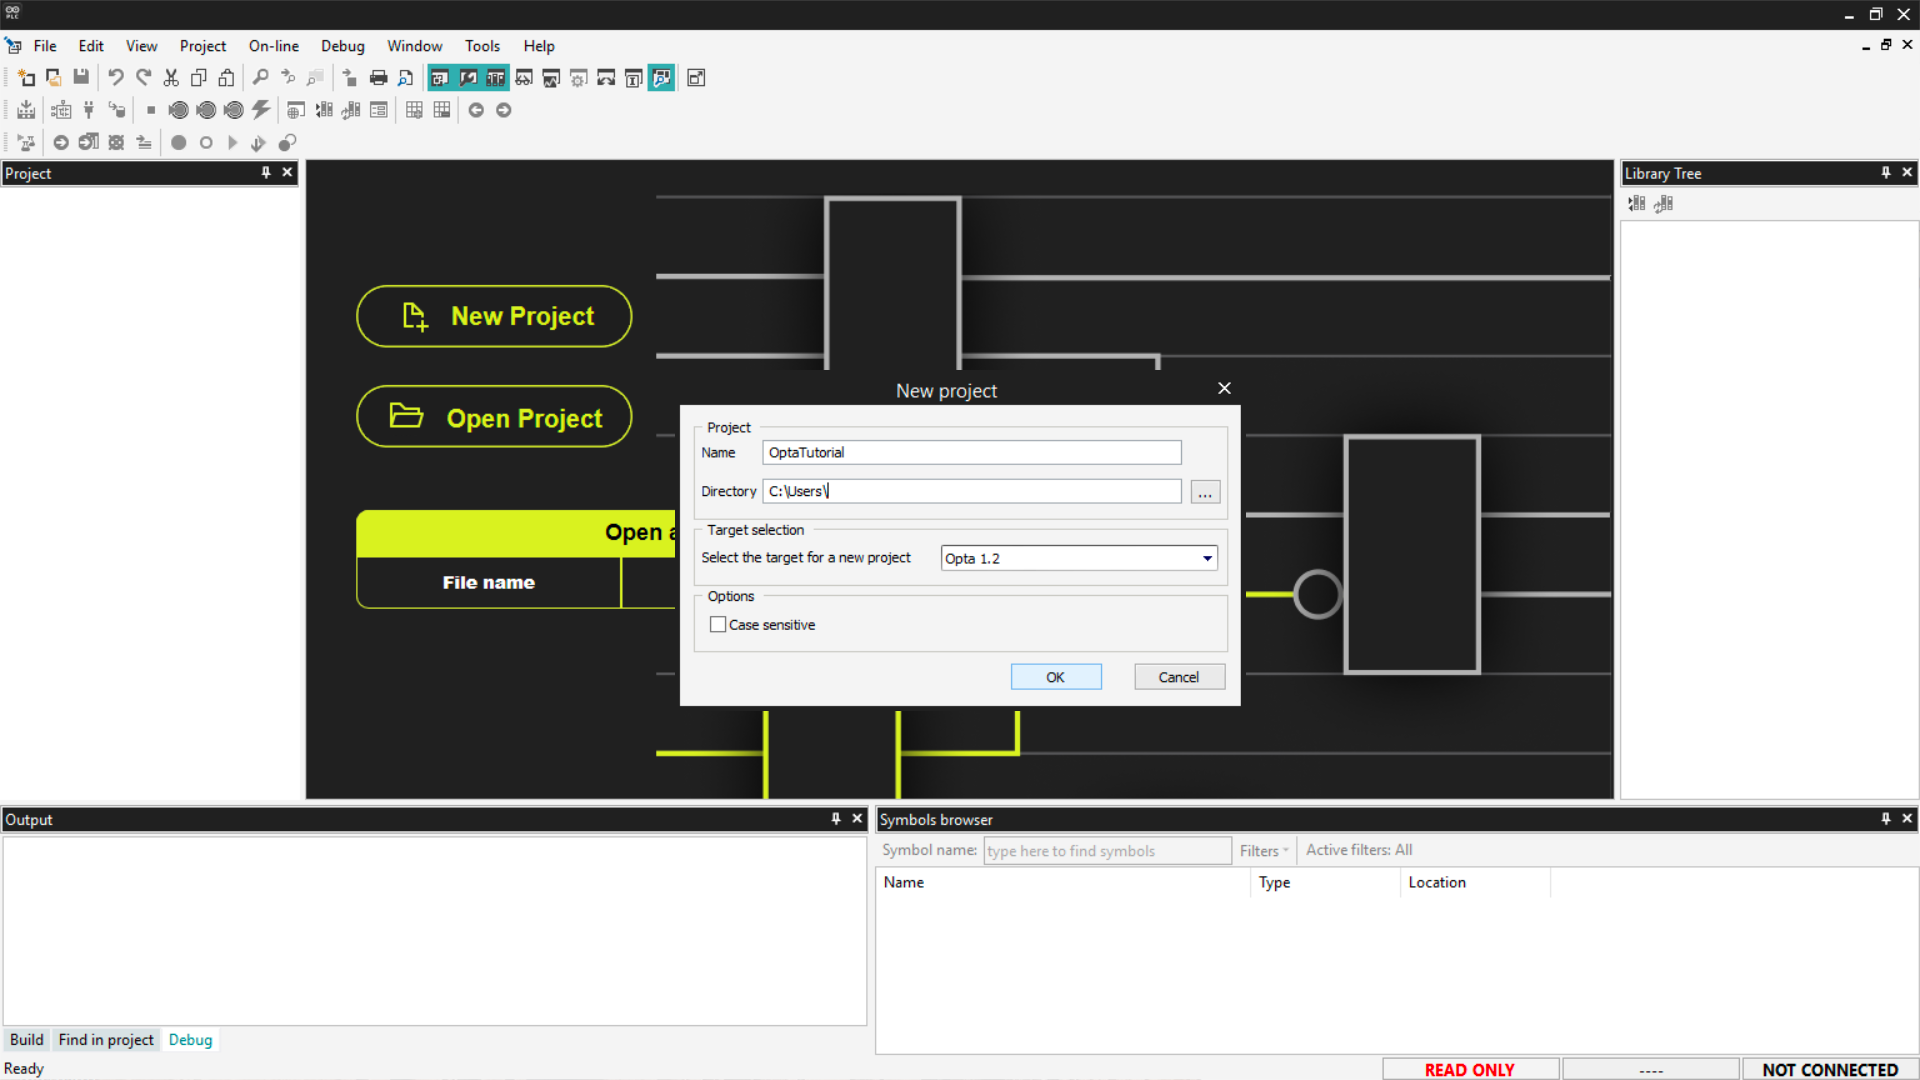
The new project screen will look like the following:
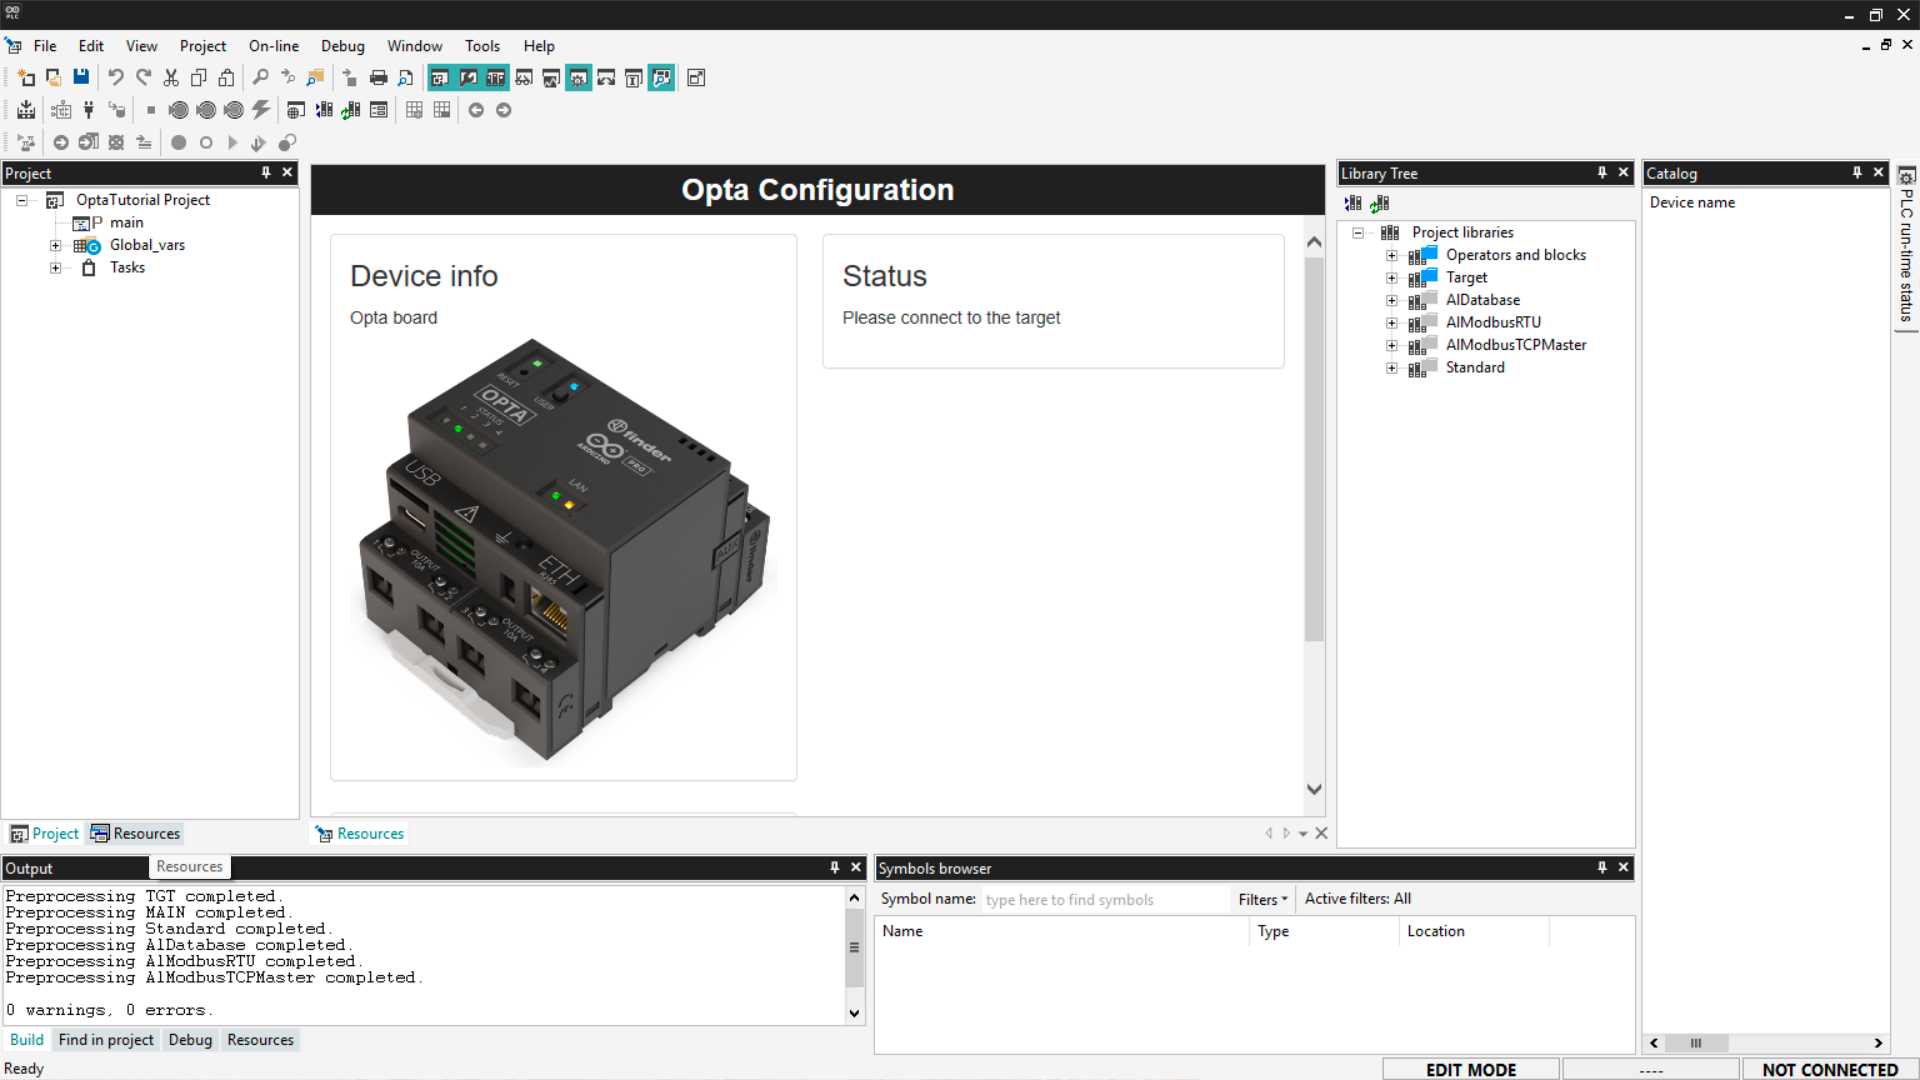
Click the Resources tab in the bottom left, or click View > Tool
Windows > Resources. A tree structure will open with an Opta entry;
click it to access Finder OPTA configuration screen.

Now let’s download the runtime to the device. Scroll down the configuration
page until Finder OPTA COM port selector appears. Select the first available
port.
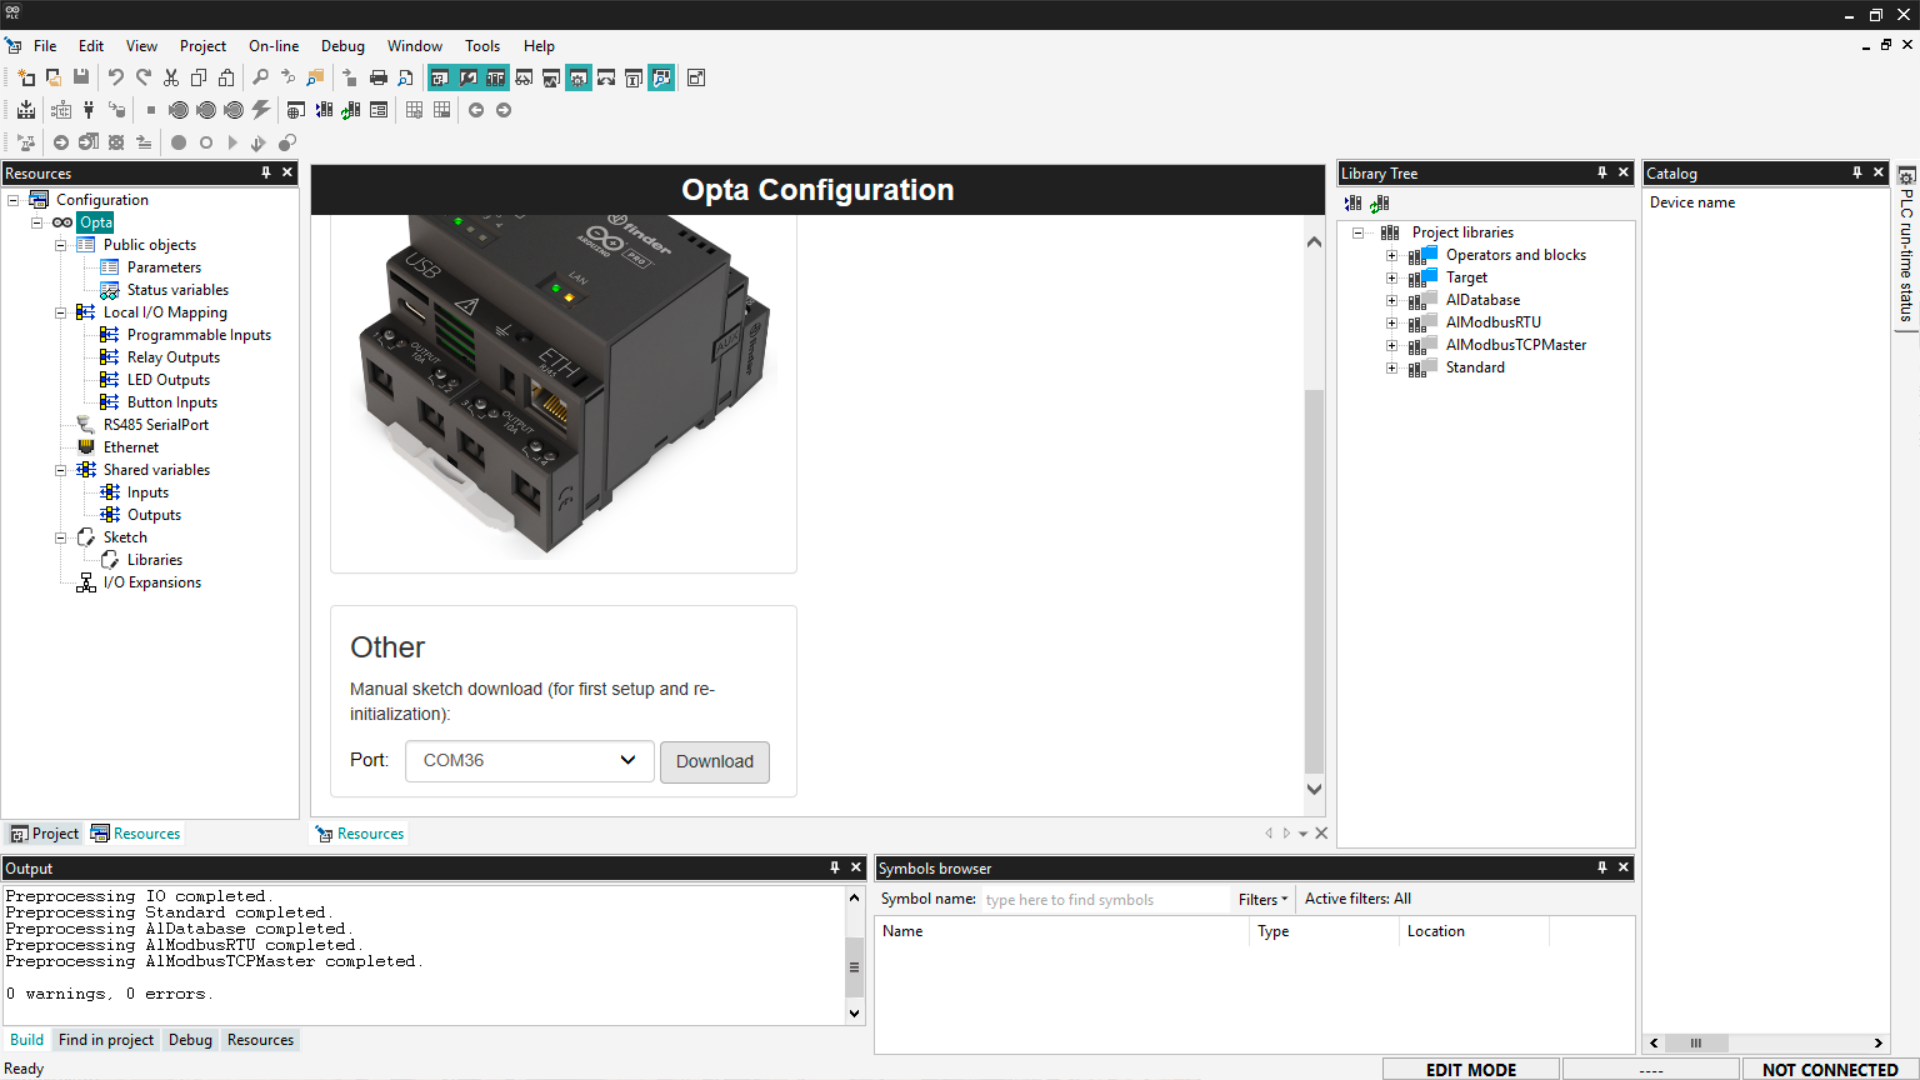
Click Download to install the software on Finder OPTA.
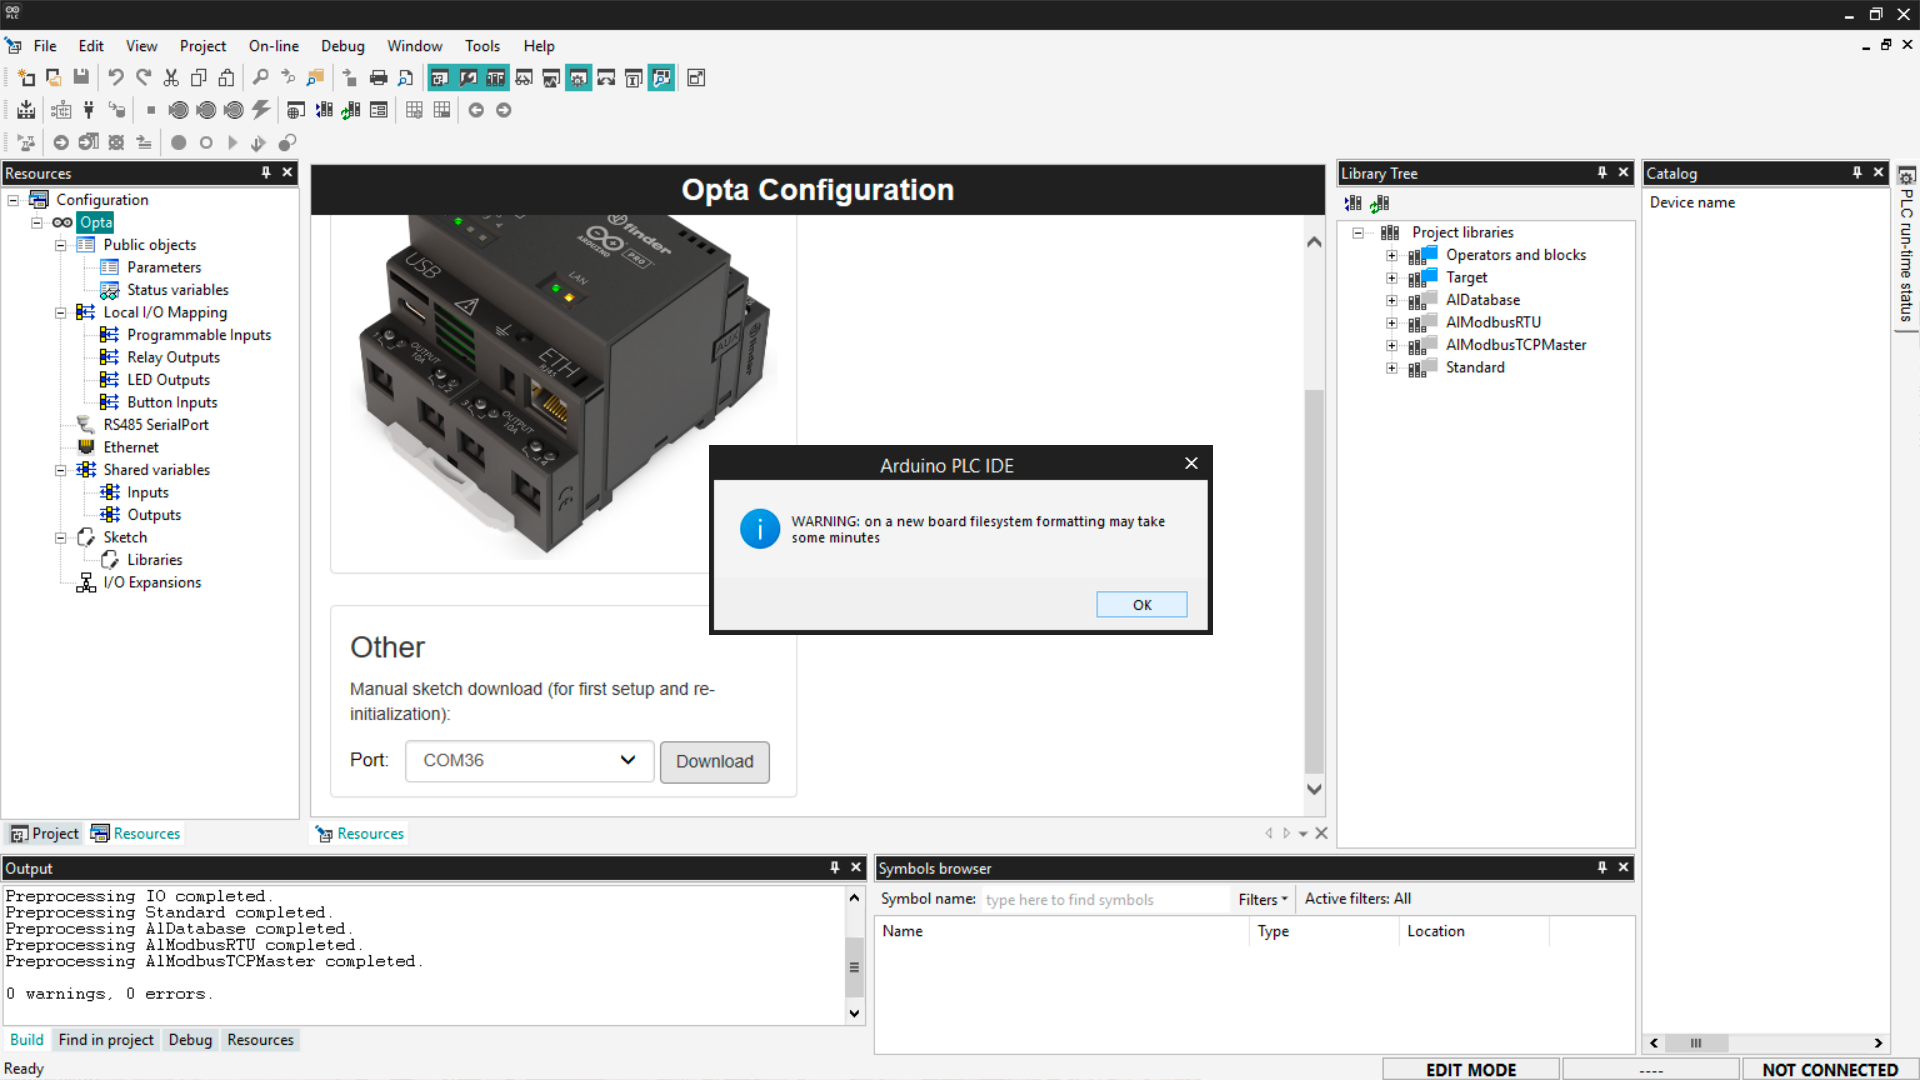
Note: Always download the runtime whenever you update Arduino PLC IDE to a
new version. This ensures proper communication between Finder OPTA and Arduino
PLC IDE.
Finder OPTA Ports
Arduino PLC IDE shows two COM ports for Finder OPTA:
- Default port: the main serial port, lower number.
- Secondary port: virtual communication port with the computer, higher number.
Take note of both; they are needed to connect to Finder OPTA.
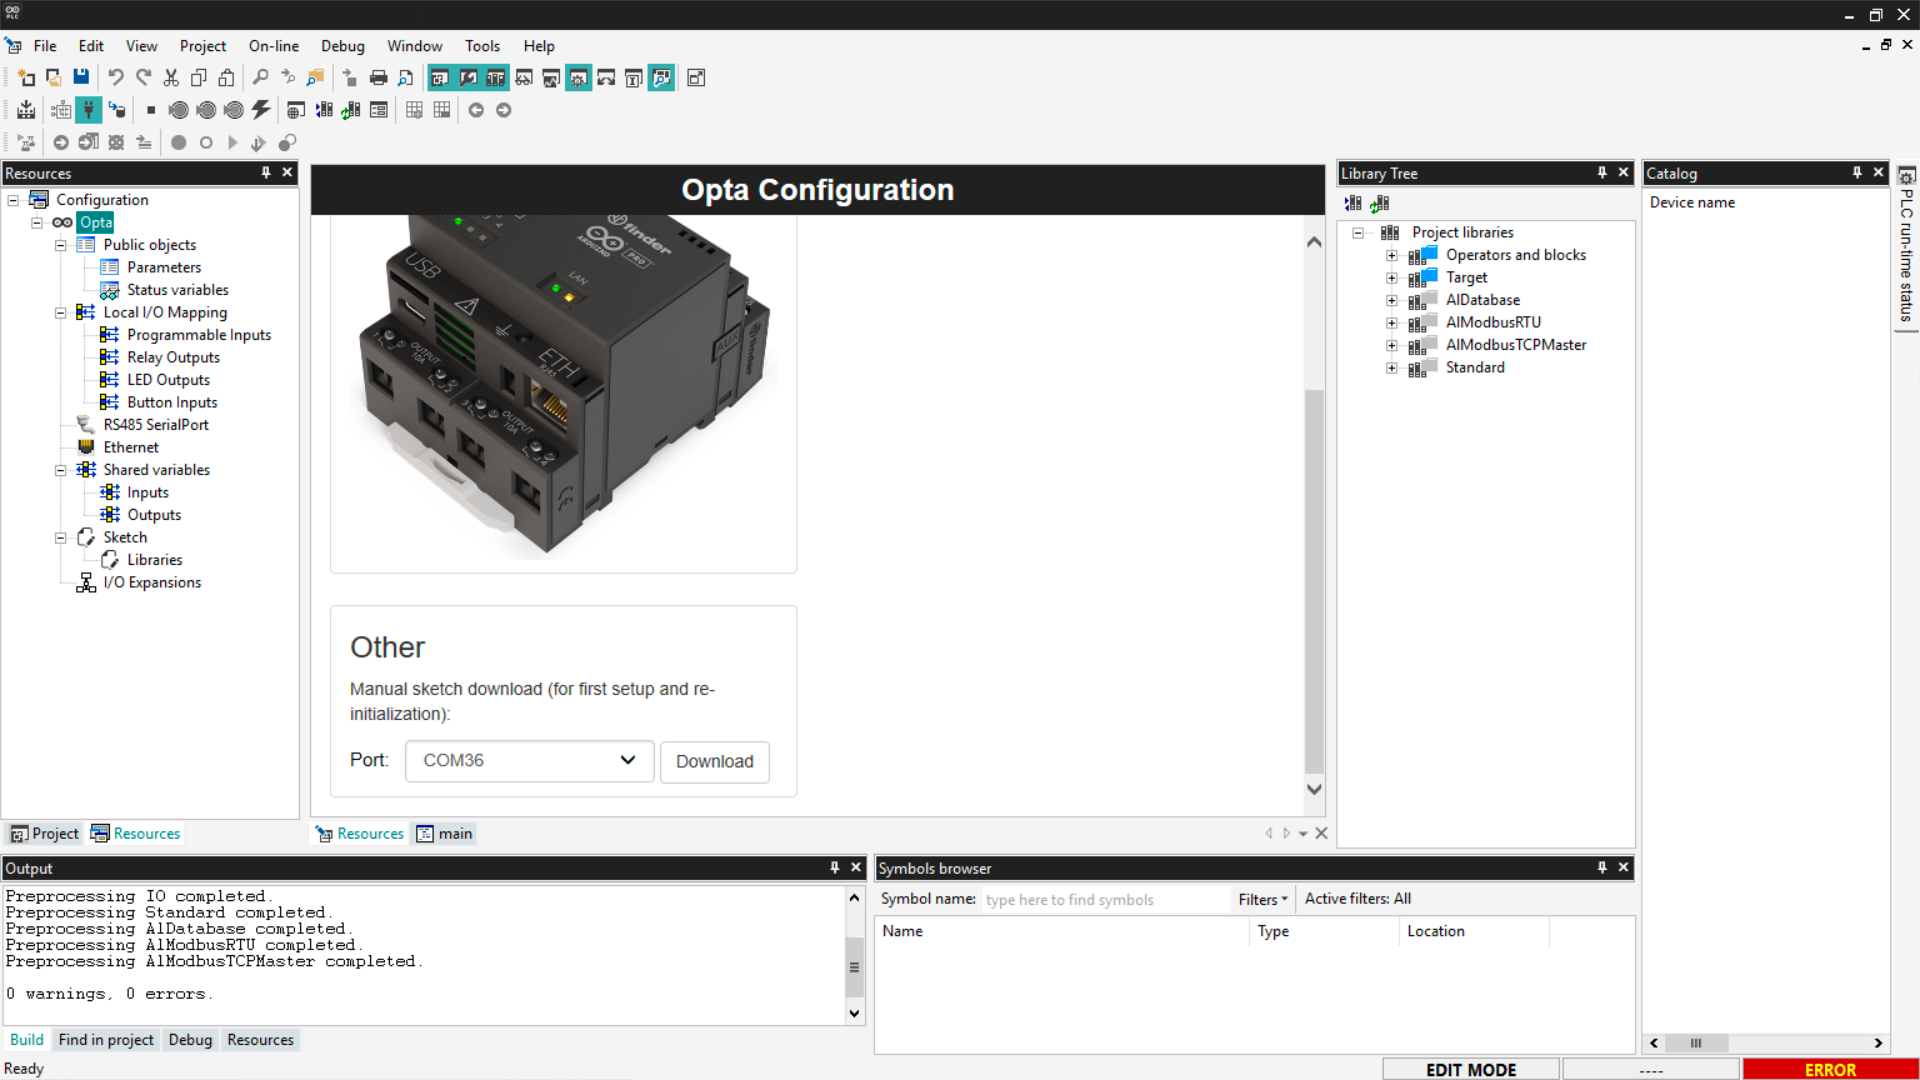
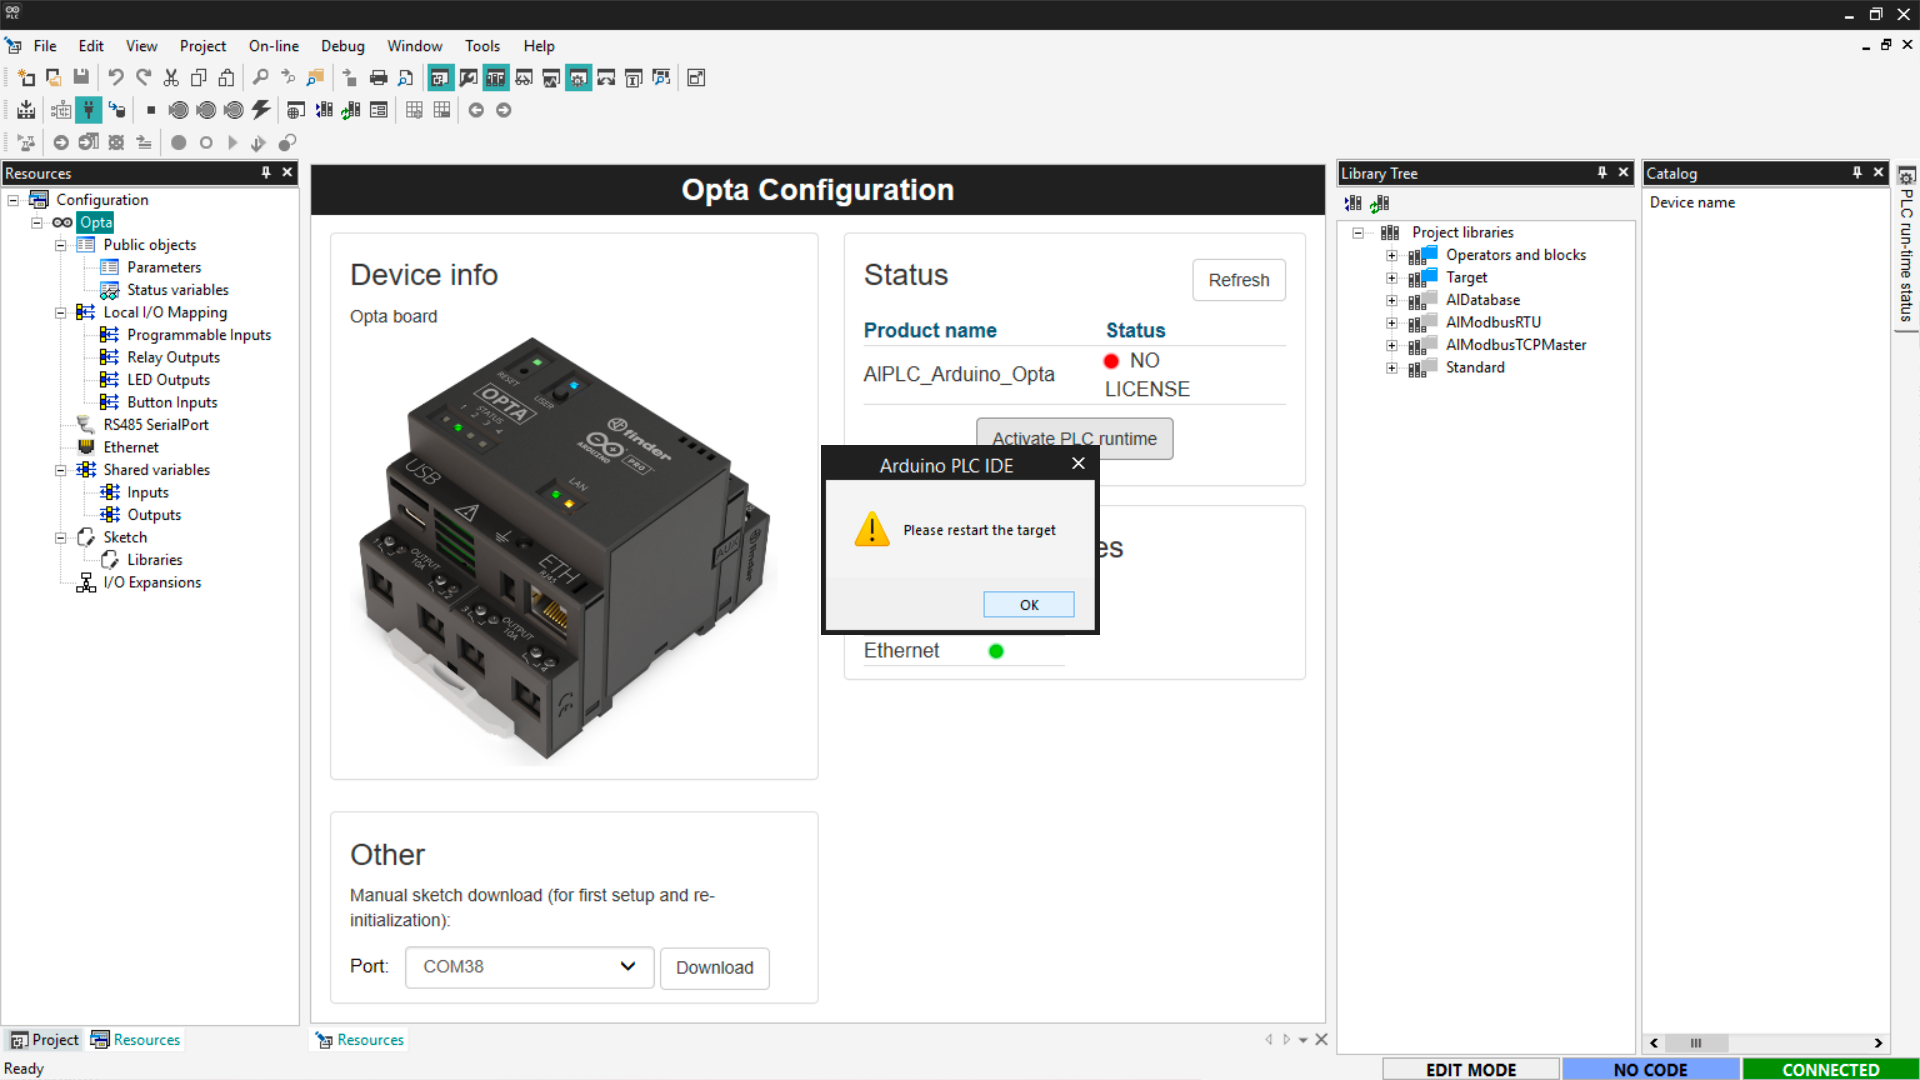
Error resolution
During the download, you may see an error message like this:

If this appears, follow these steps:
- Press the reset button twice using a pen tip or sharp object.
- Ensure the LED above the reset button blinks.
- Click the Download button again to retry the runtime installation.
If problems persist, run Arduino PLC IDE as an administrator. This can resolve
permission issues preventing communication with Finder OPTA.
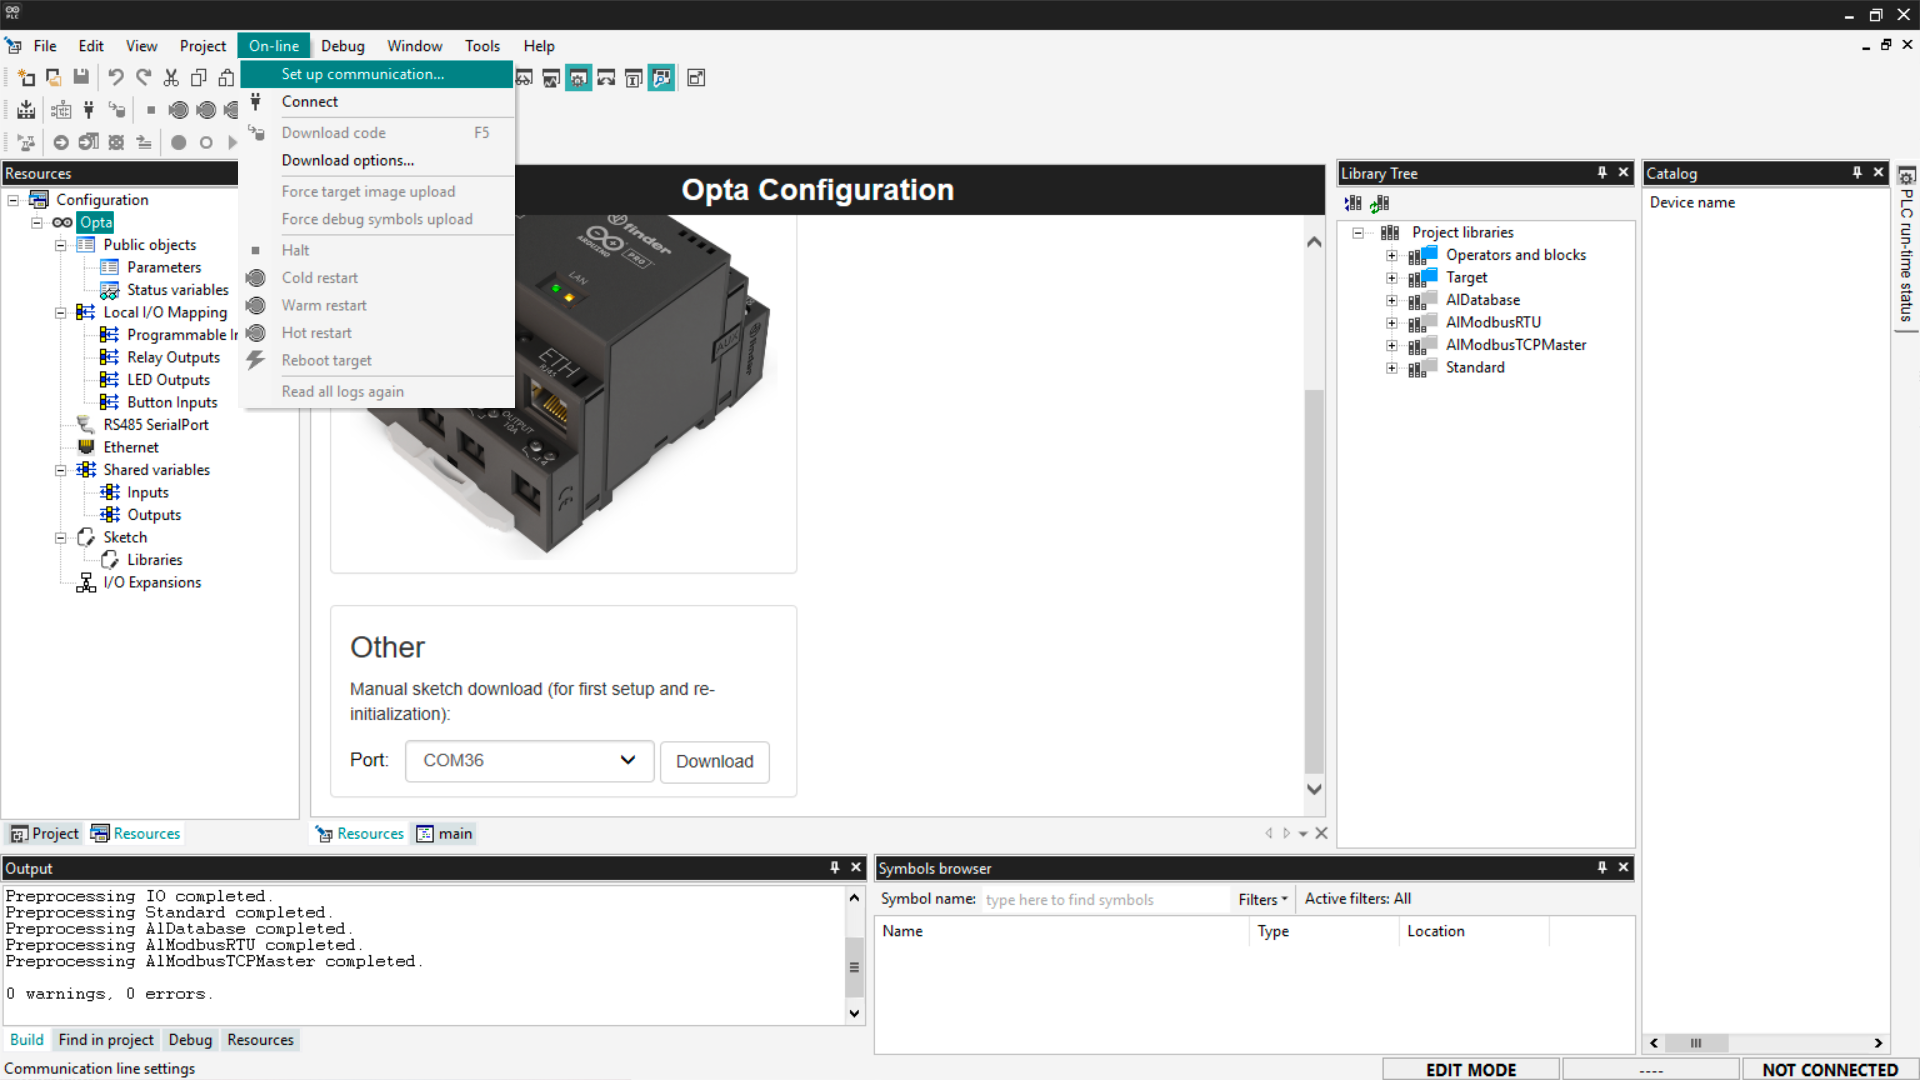
Connecting to the device
After installing the runtime, you need to configure communication with Finder
OPTA. Open the menu On-line > Set up communication.
From the window that appears, access the Modbus protocol properties.
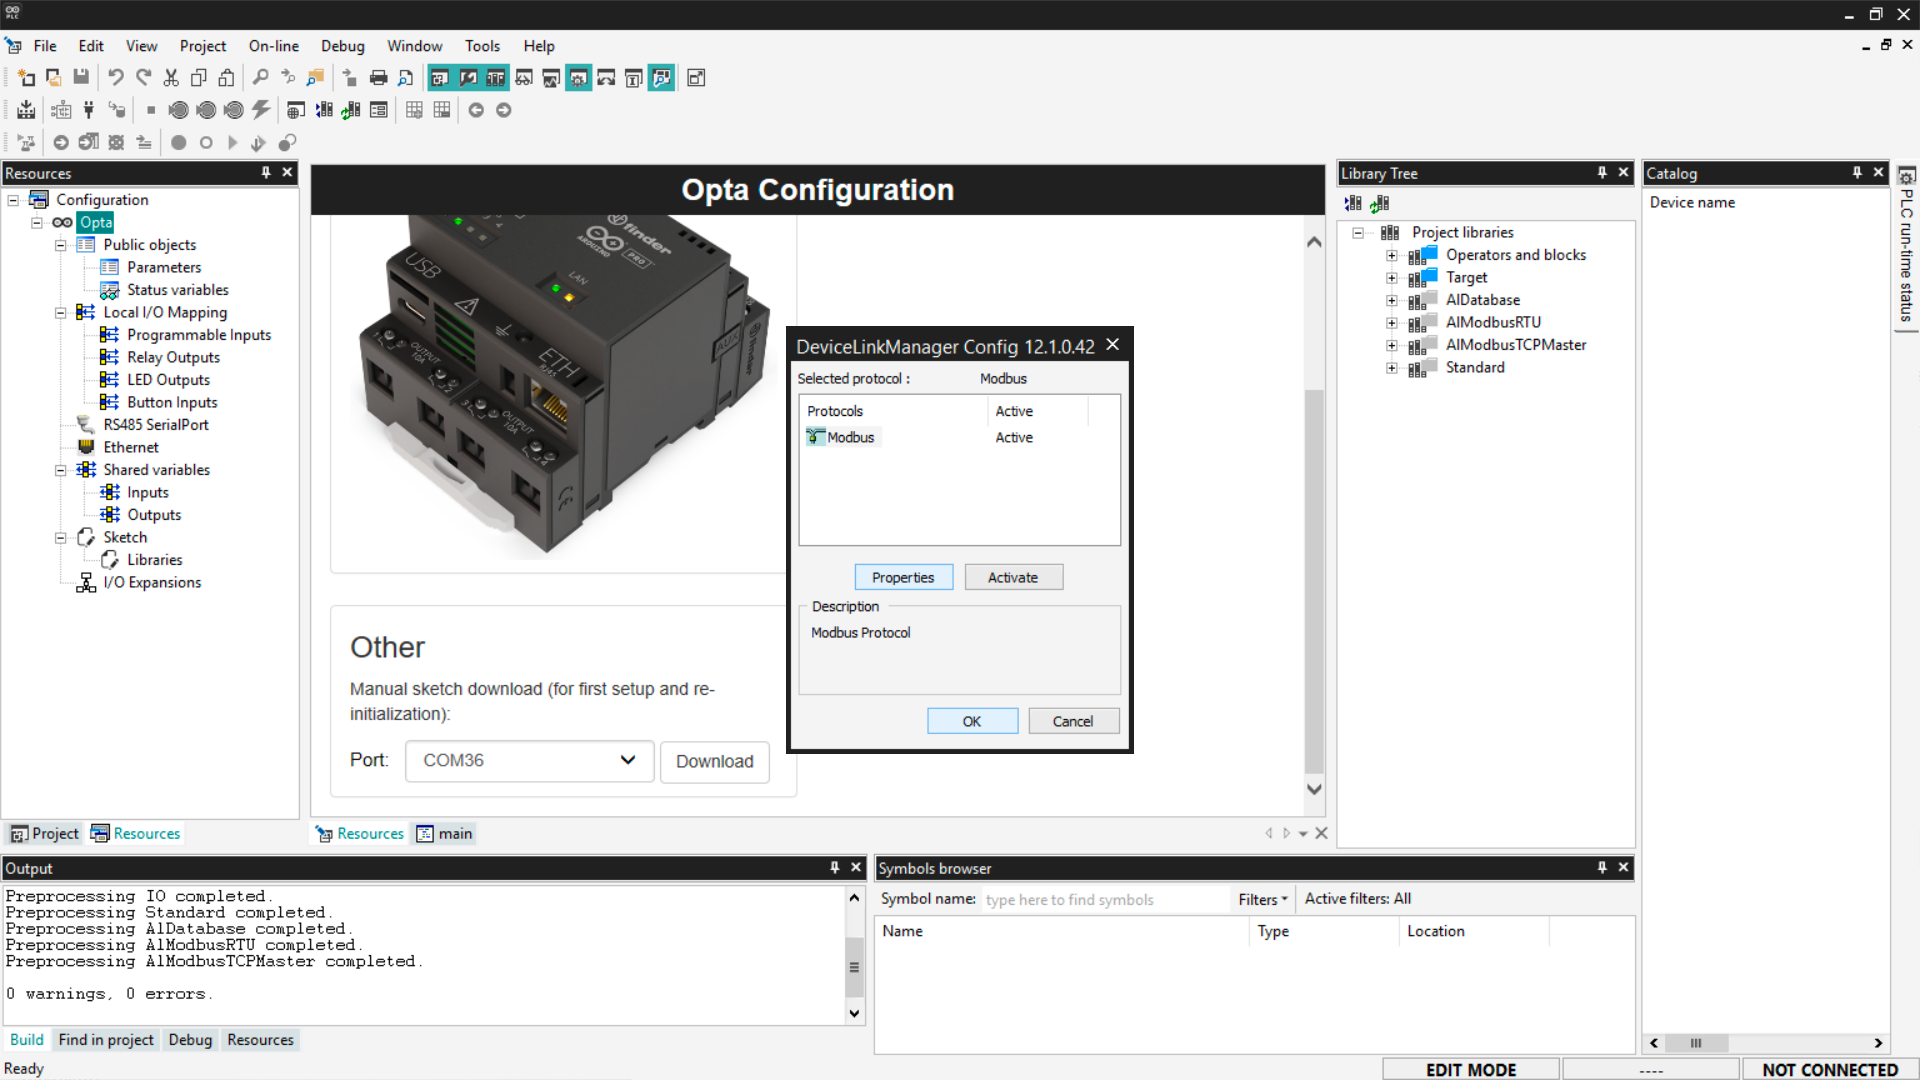
Set the initial port to the default serial port, i.e., the one with the lower
number.
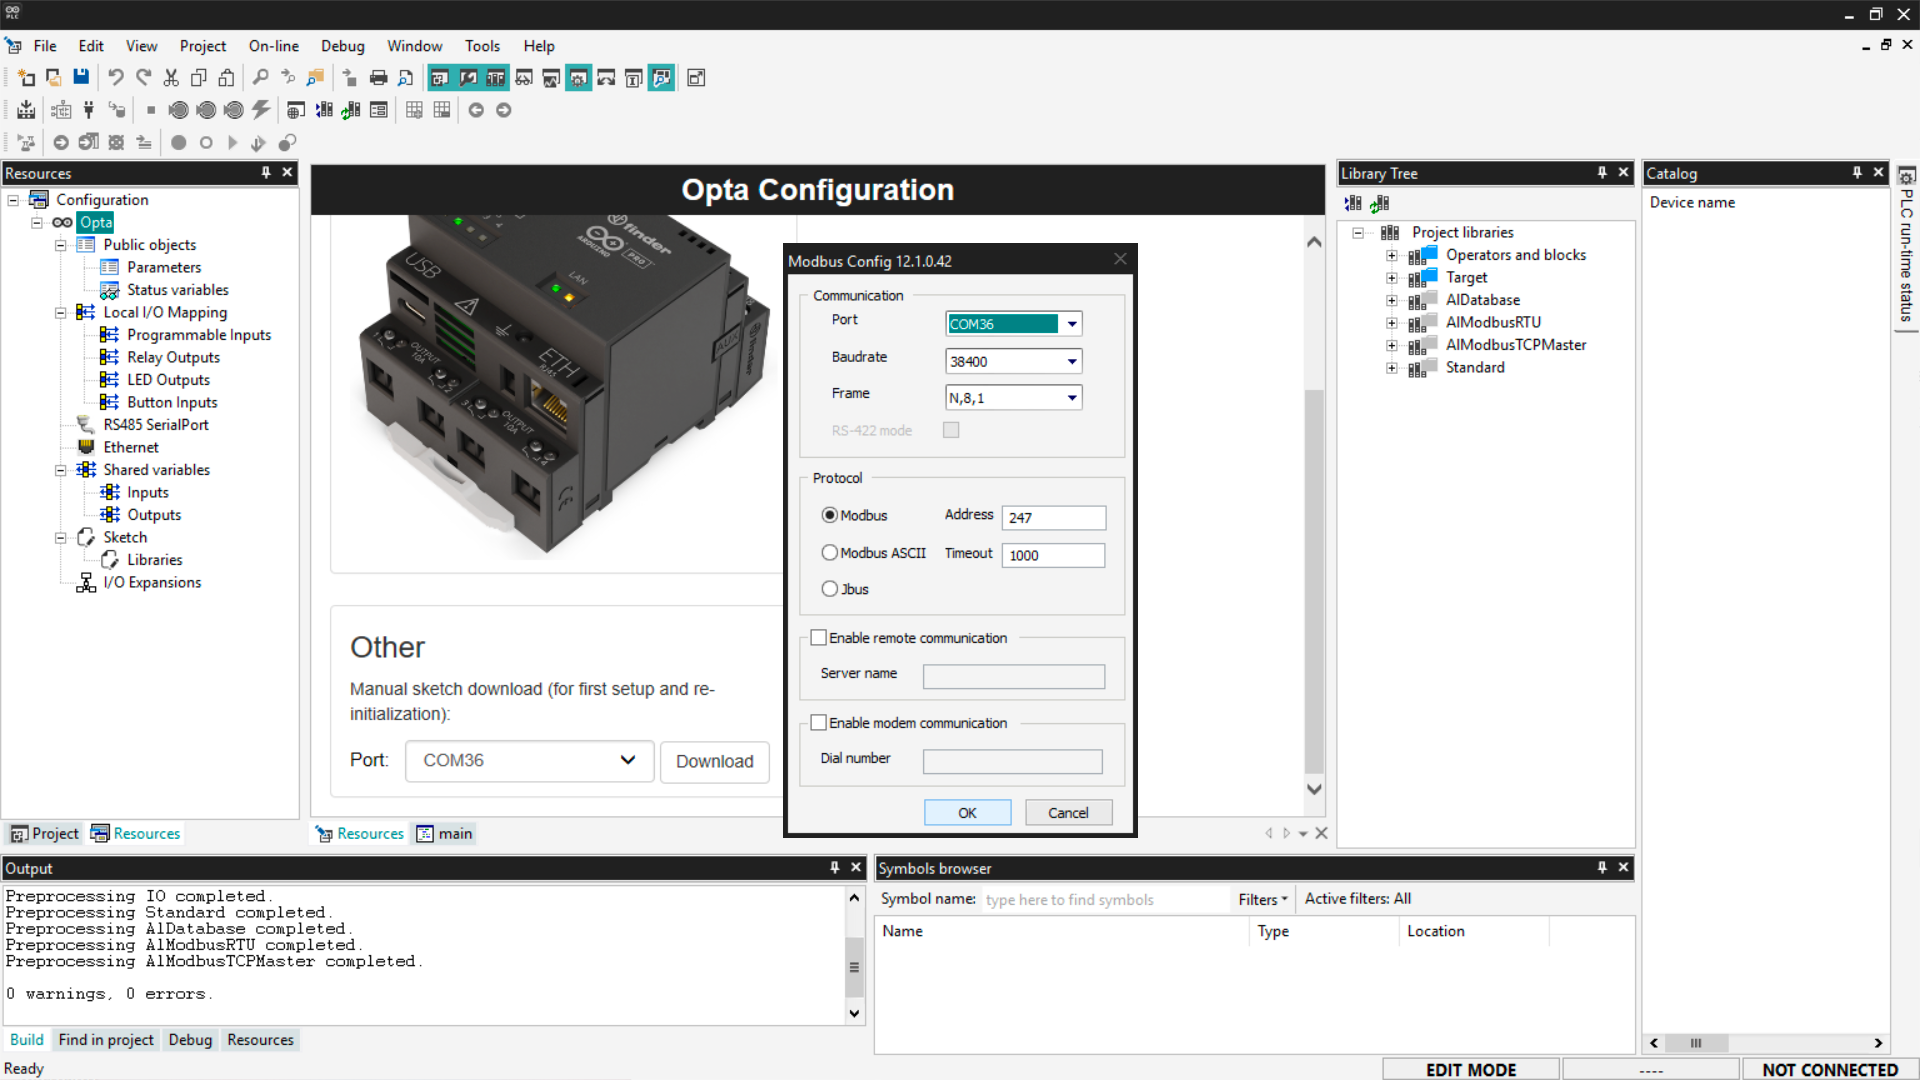
Click OK to apply changes and exit communication settings. Now connect to
the device by clicking On-line > Connect.

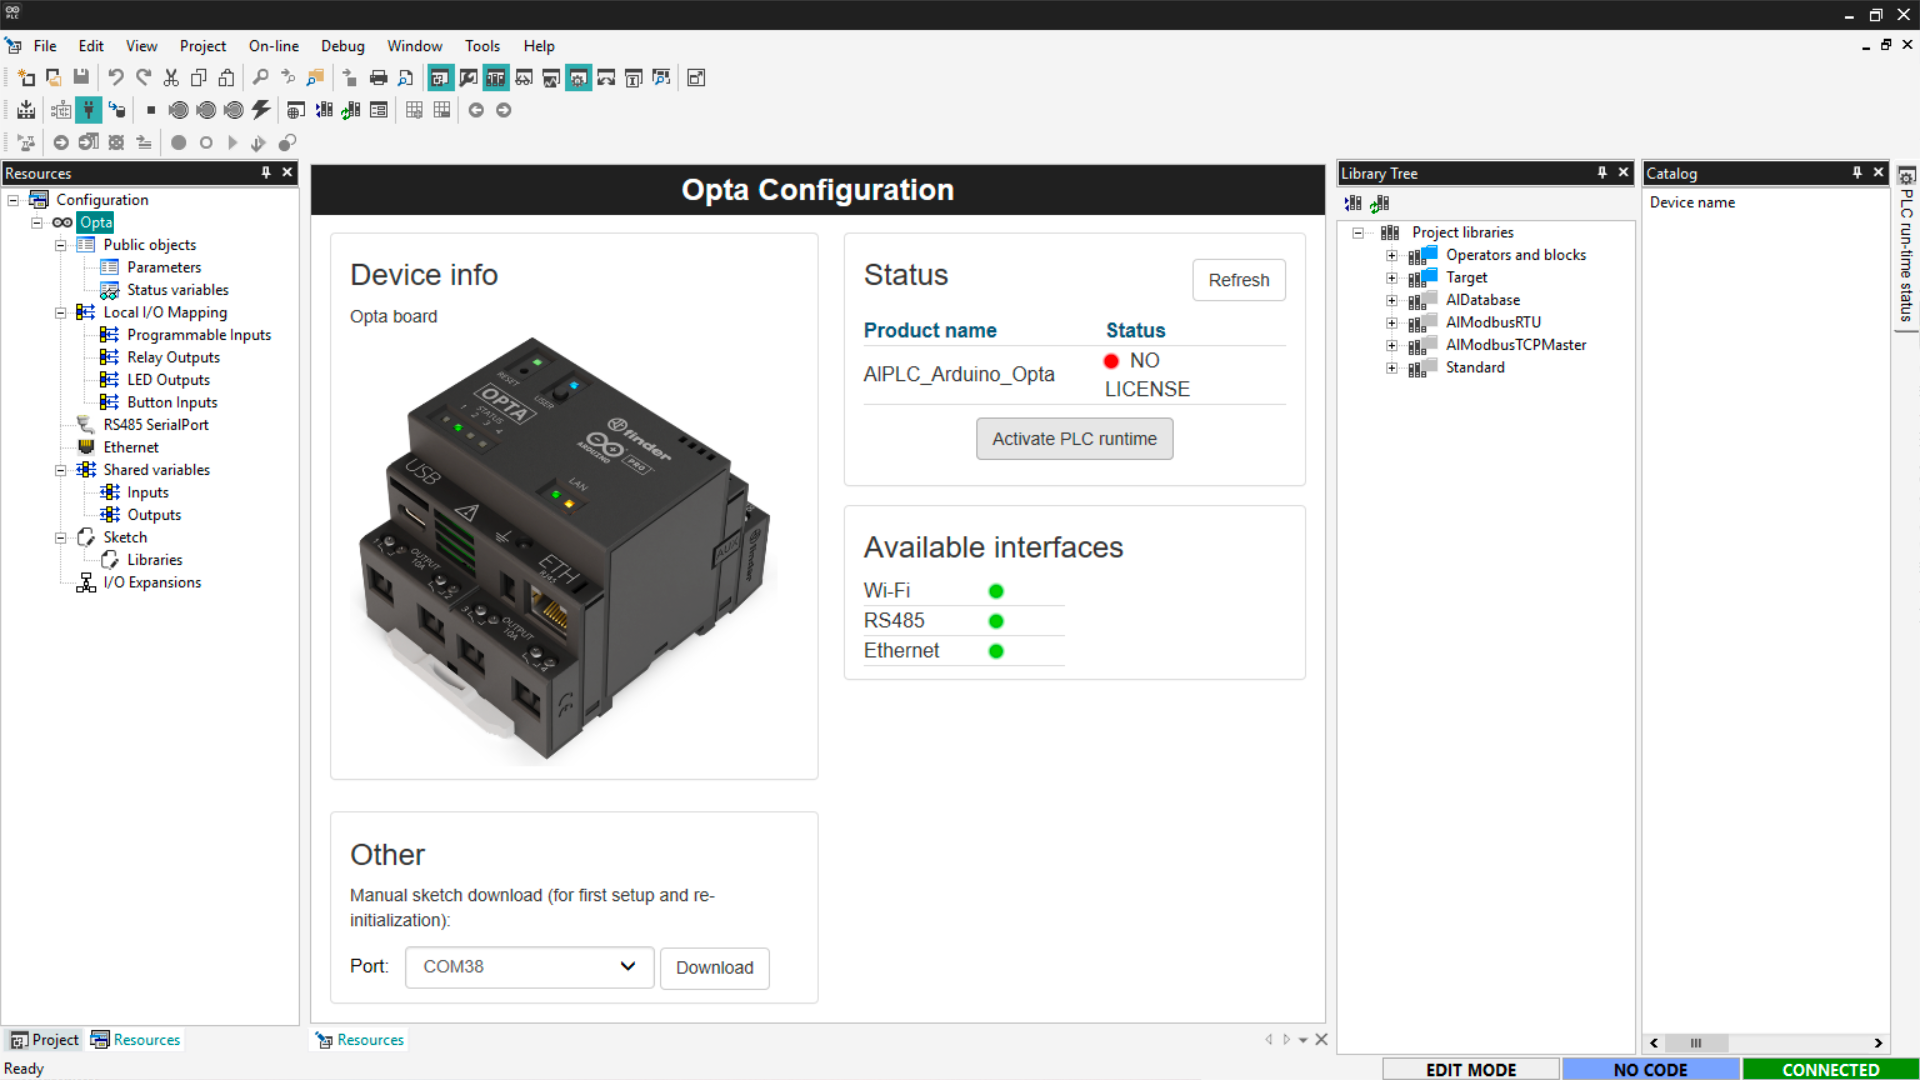
Once connected, the configuration screen will show the device details, license
status, and connection status in the bottom panel.
Connection error resolution
If the default port fails to connect (see the image below), change the port in
Modbus settings and use the secondary port, usually with a higher number.
Next, connect to the device and verify that PLC IDE does not show any error.
Activating Finder OPTA license
Finder OPTA comes with a pre-granted license that must be activated. On the
device configuration screen, click the Activate PLC runtime button while
Finder OPTA is connected to the PC.
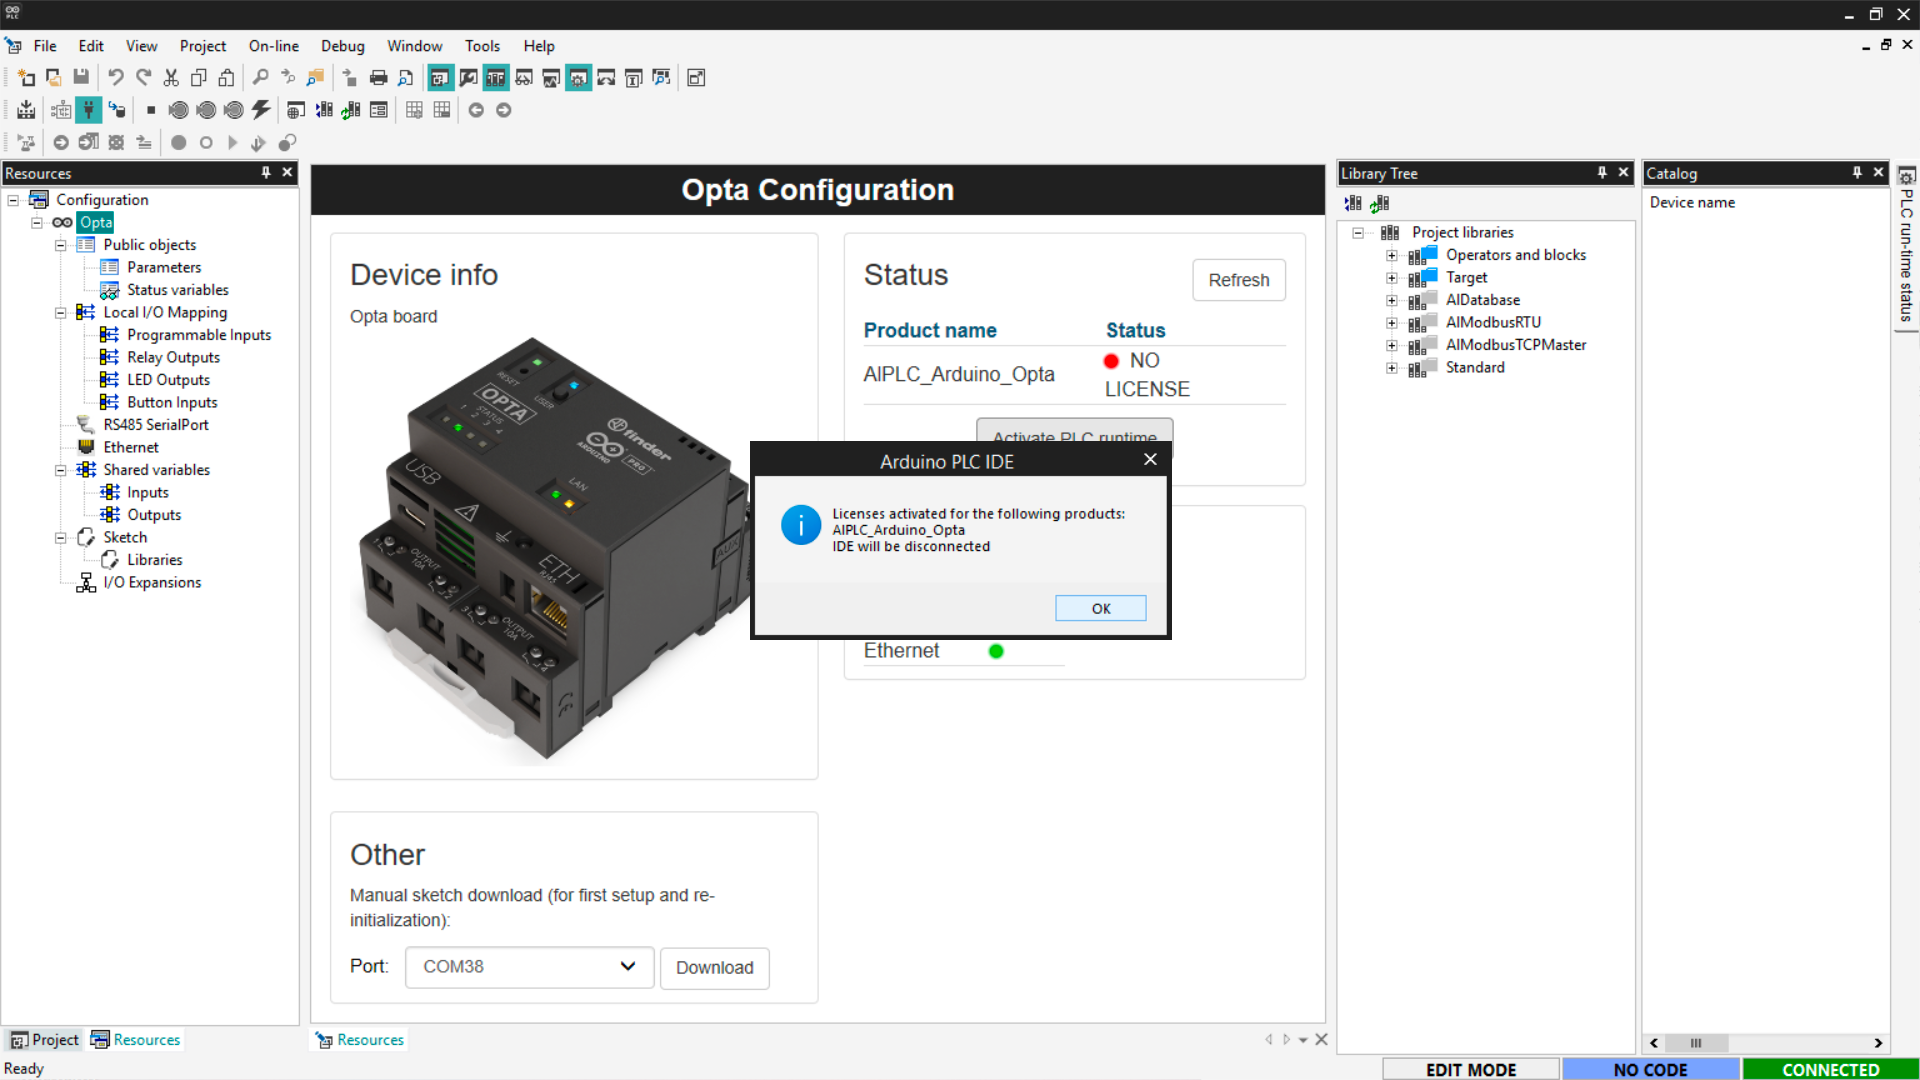
A confirmation message will notify that Arduino PLC IDE will disconnect. Press
OK to proceed.
Another message will ask you to restart the device after activation. Press
OK to continue.
Restart Finder OPTA by pressing the reset button once, then repeat the
connection procedure.
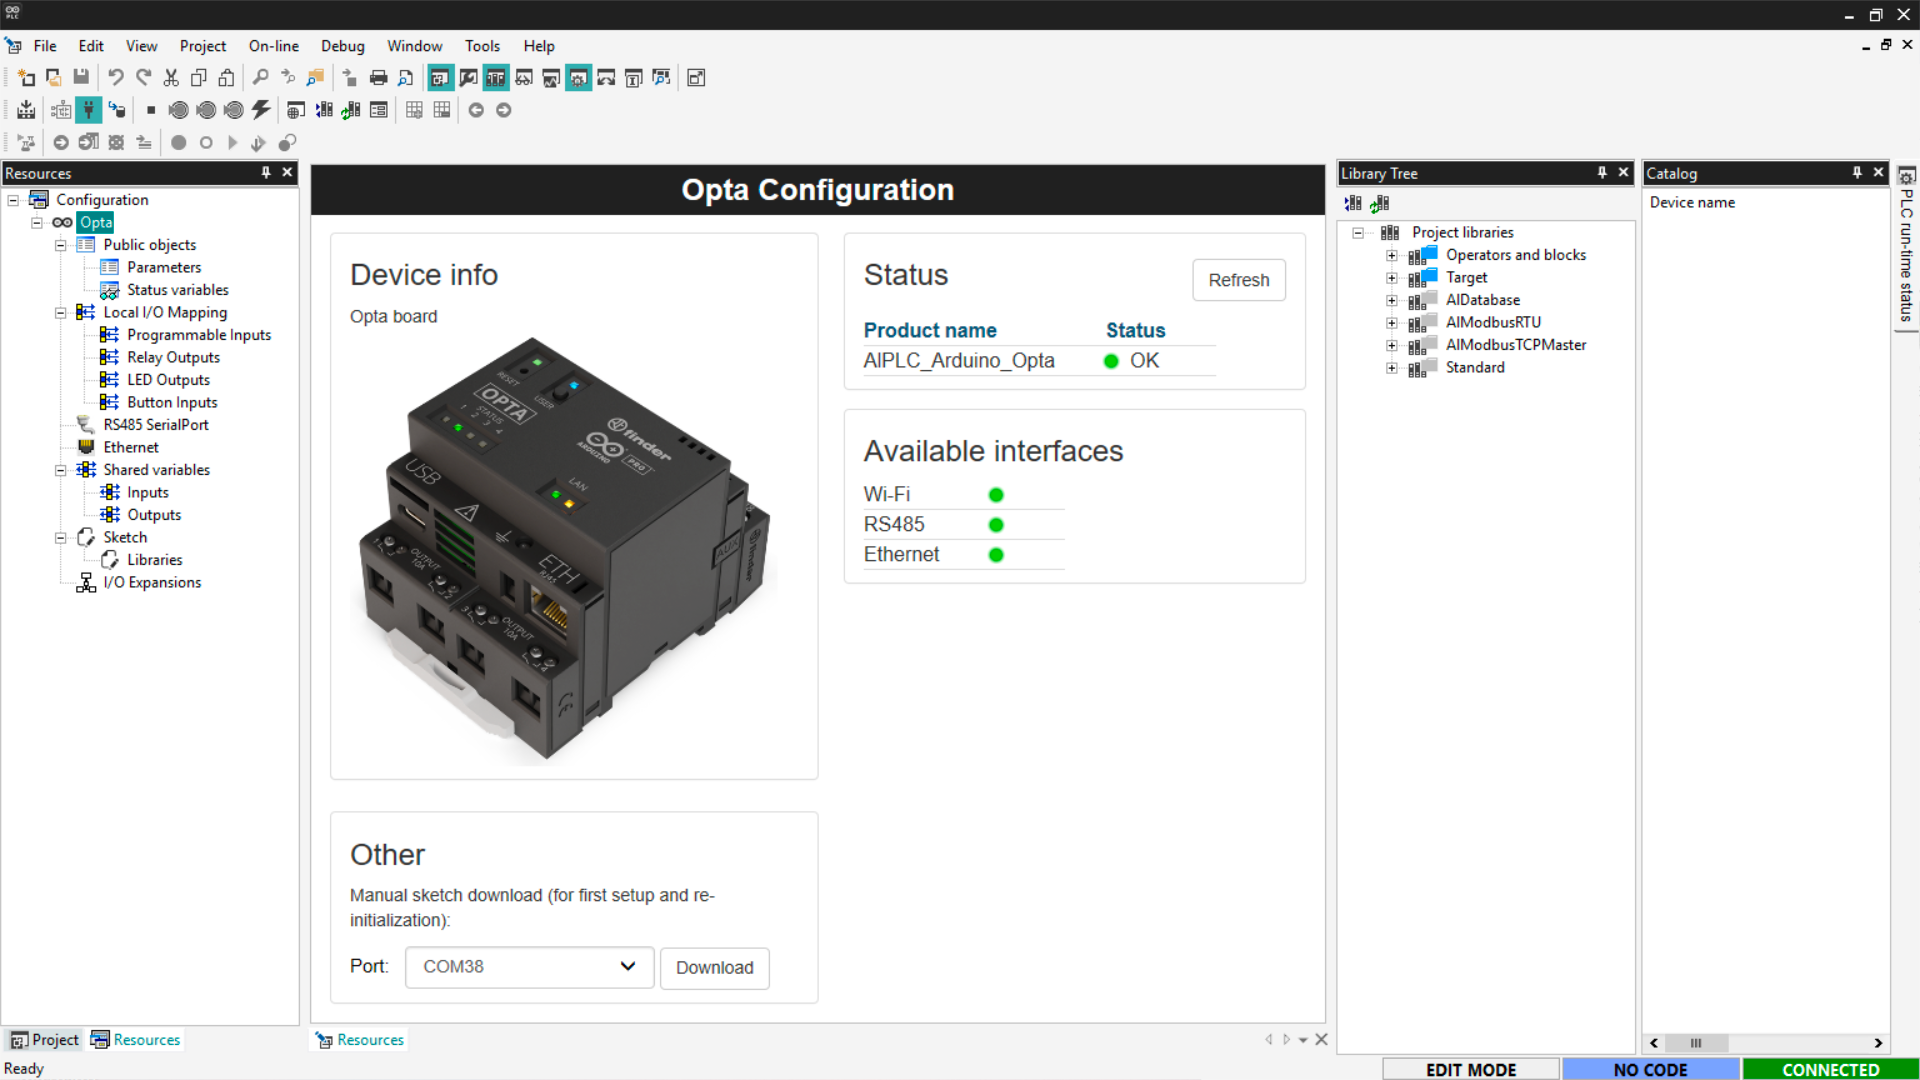
The device activation is complete. The Status of Finder OPTA is OK and
it is ready to use with Arduino PLC IDE.
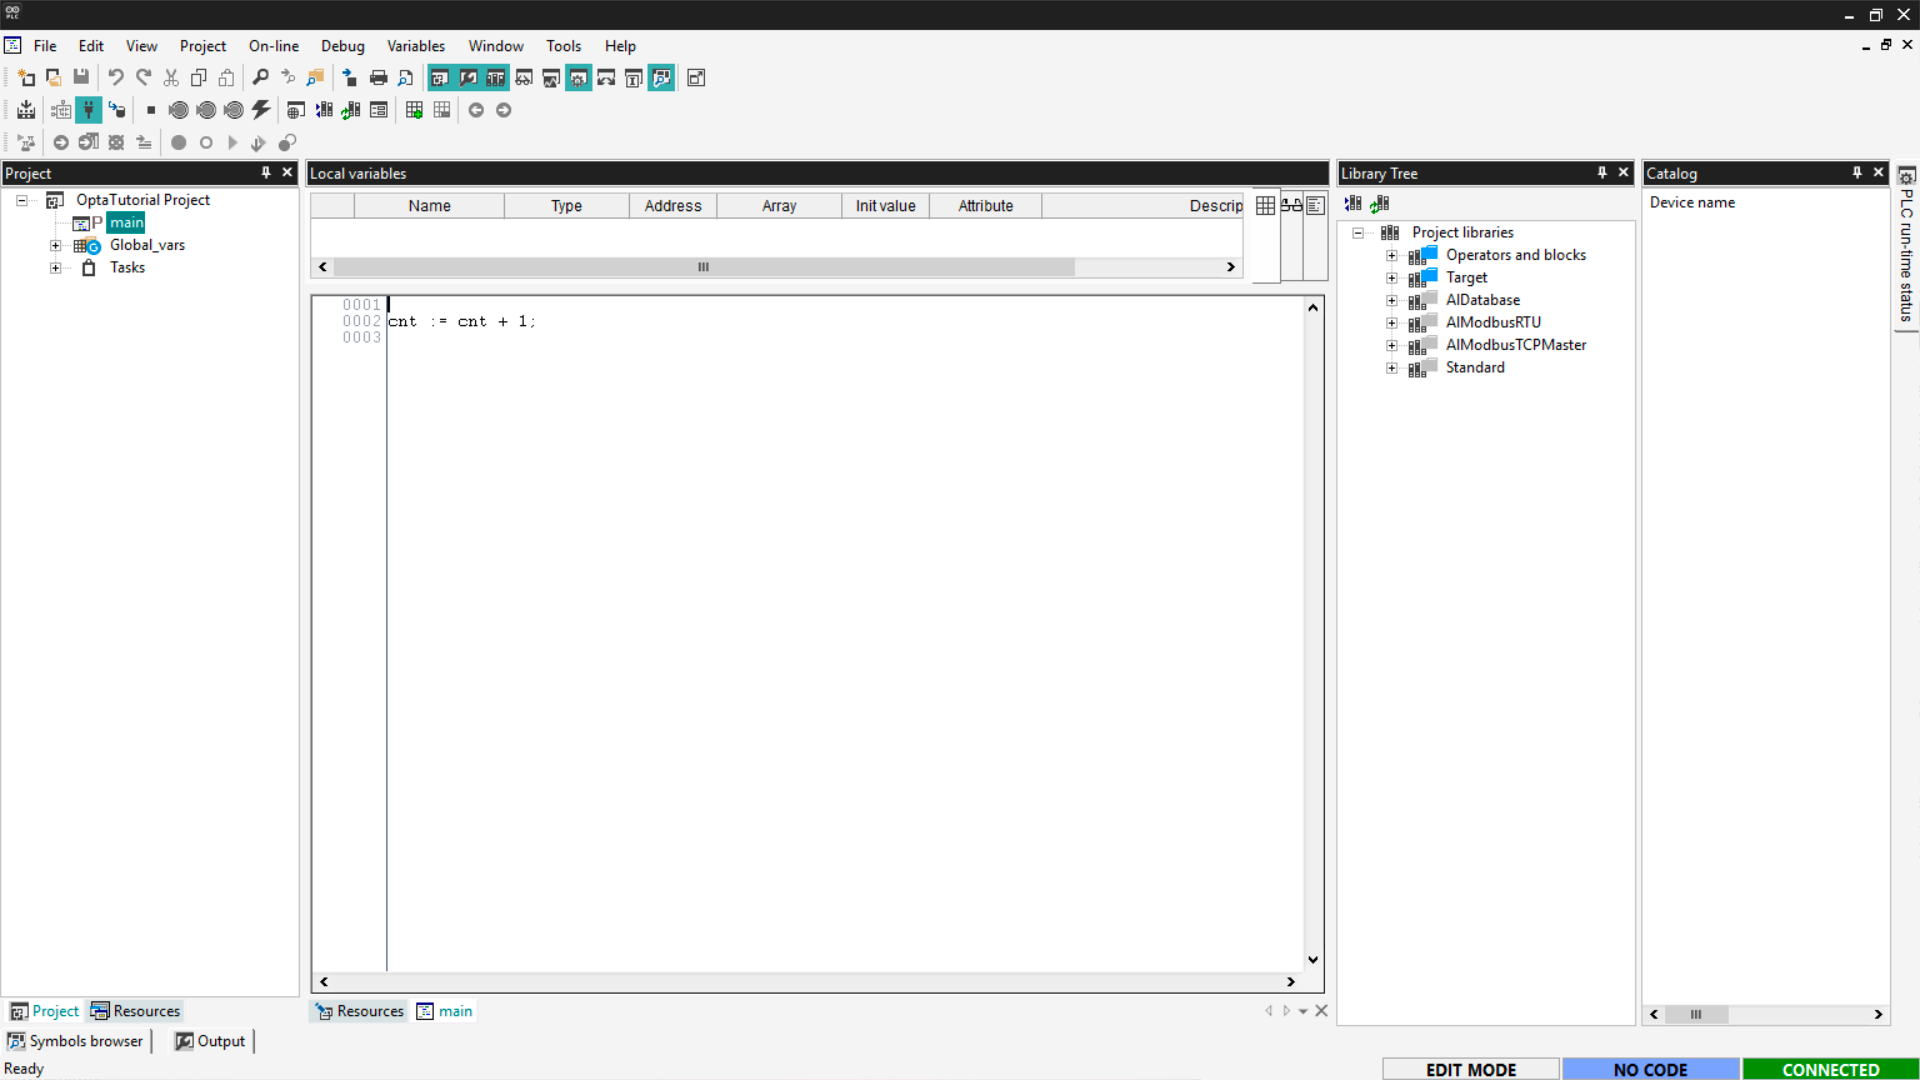
Downloading a program
To run the first program on Finder OPTA, we’ll use the default counter code
included in the project. This simple counter increments its value by 1 every
execution cycle. The goal is to verify the device runs code correctly and
updates values in real-time inside Arduino PLC IDE.
Open the Project section next to Resources, or click View > Tool
Windows > Project. Then select the main item from the tree to display the
counter code.
To download the program to the device, compile the code using the top-left
button.

Now start downloading the program by clicking On-line > Download Code.
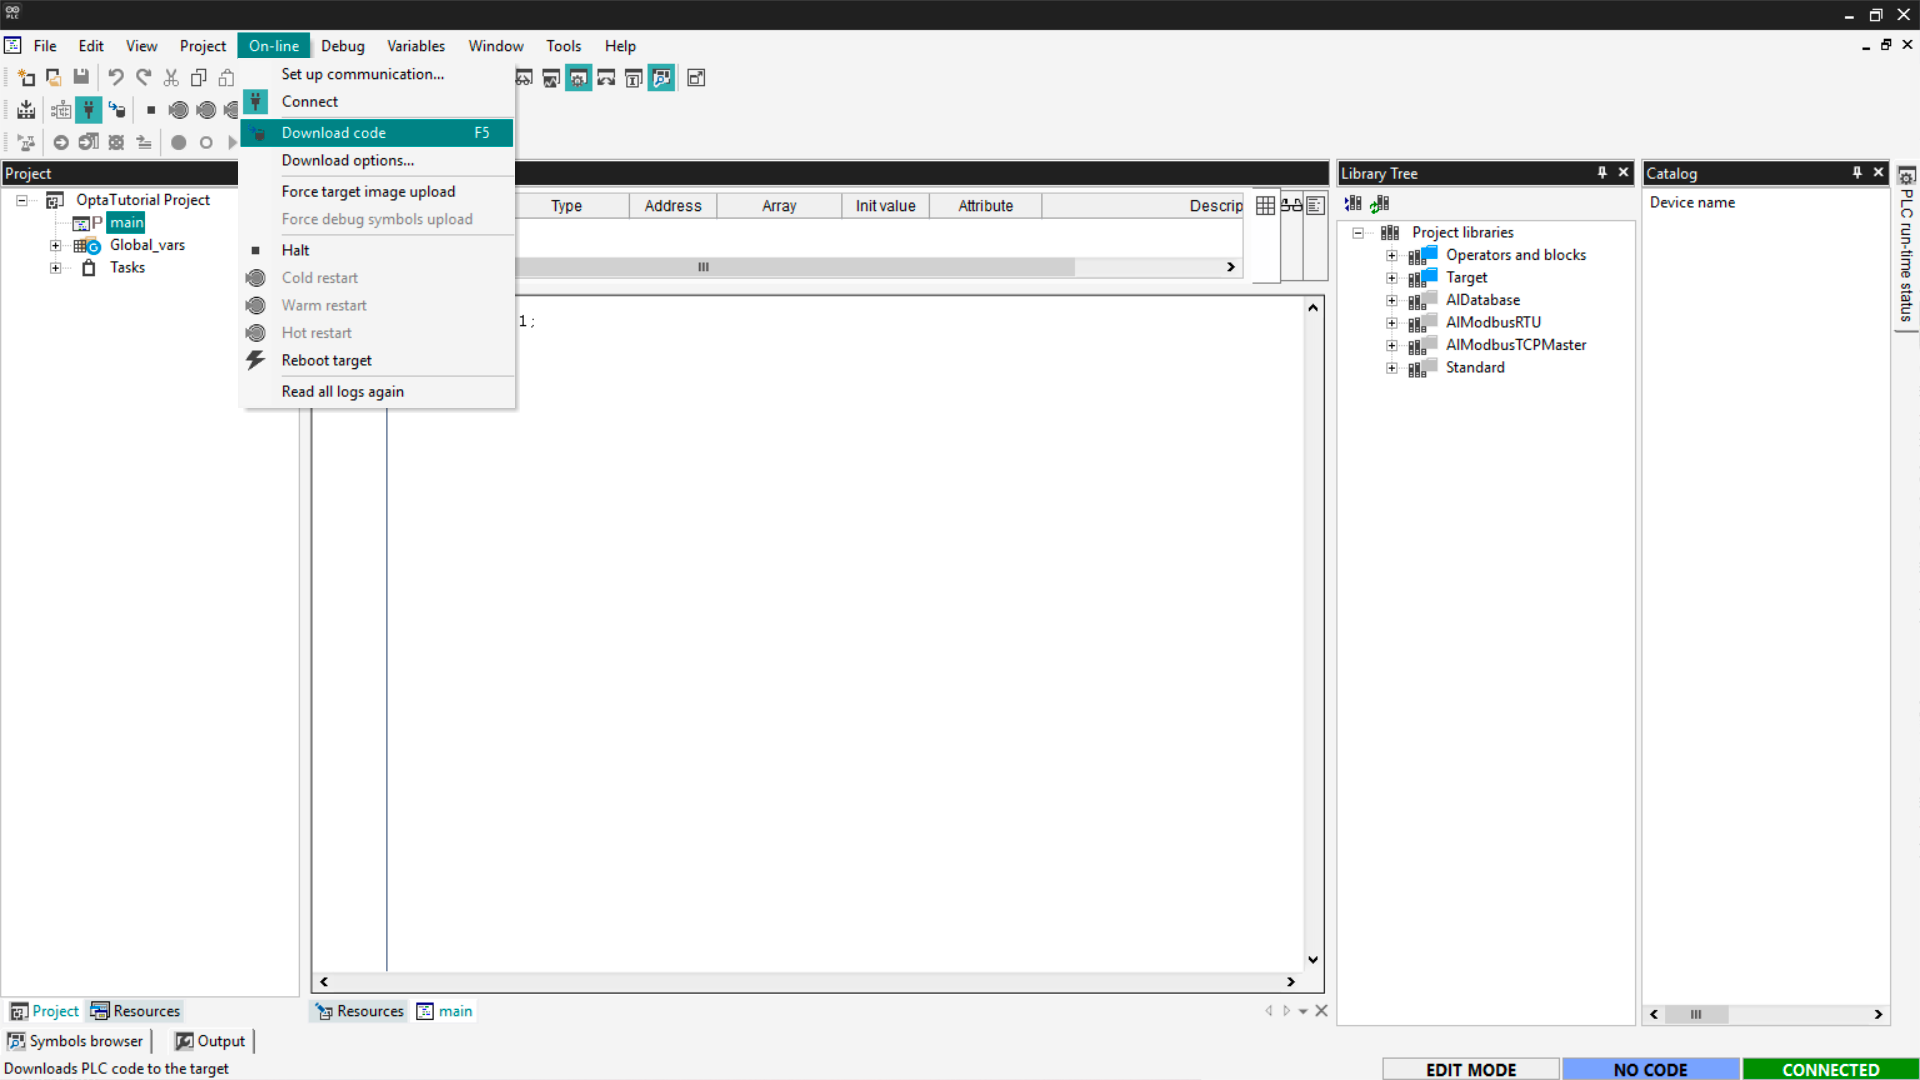
A confirmation message will appear, click Yes to proceed.
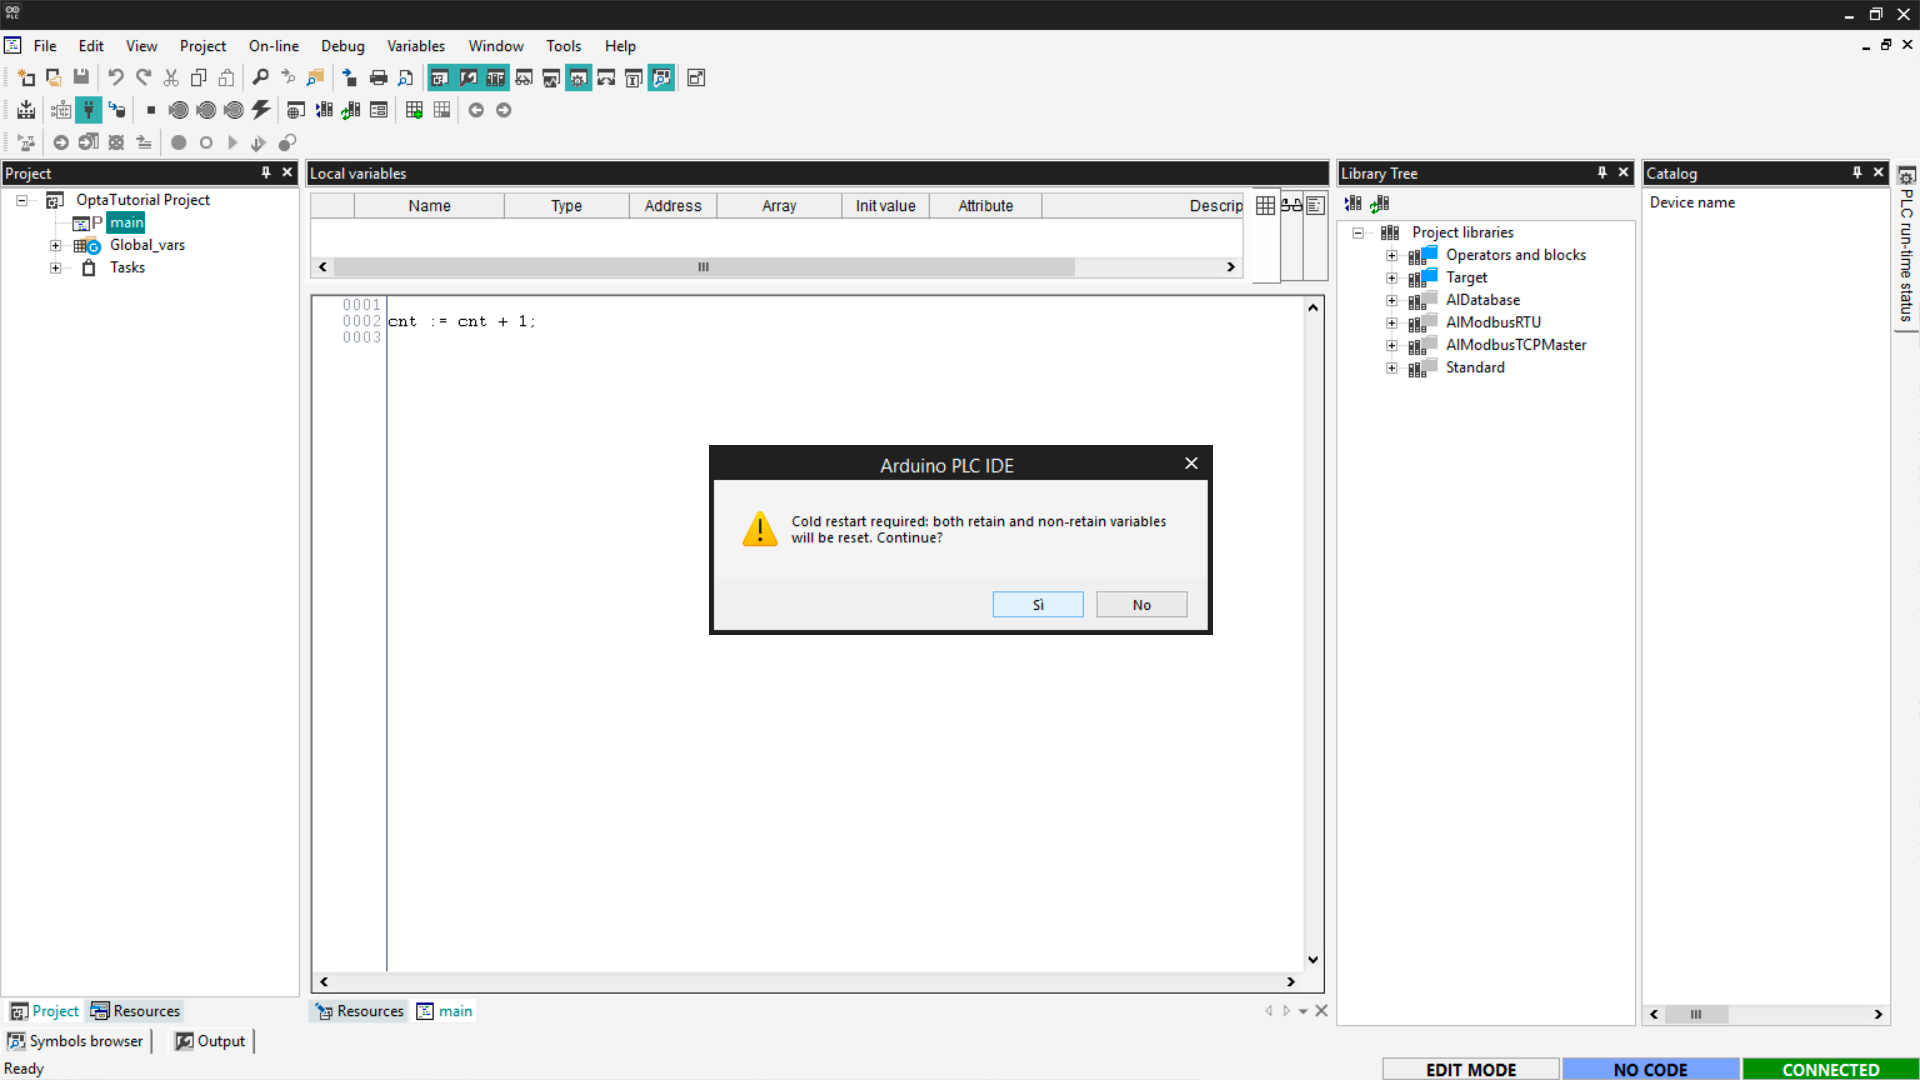
The code has now been successfully downloaded to the device, which is now
executing it.
Verifying program execution
To verify the program is running properly on Finder OPTA, monitor the counter
value directly inside Arduino PLC IDE. This is done using a Watch, a tool
to access and monitor variable values.
You must be connected to Finder OPTA. If your PC disconnected after
downloading, reconnect as before. Then go to View > Tool Window > Watch.
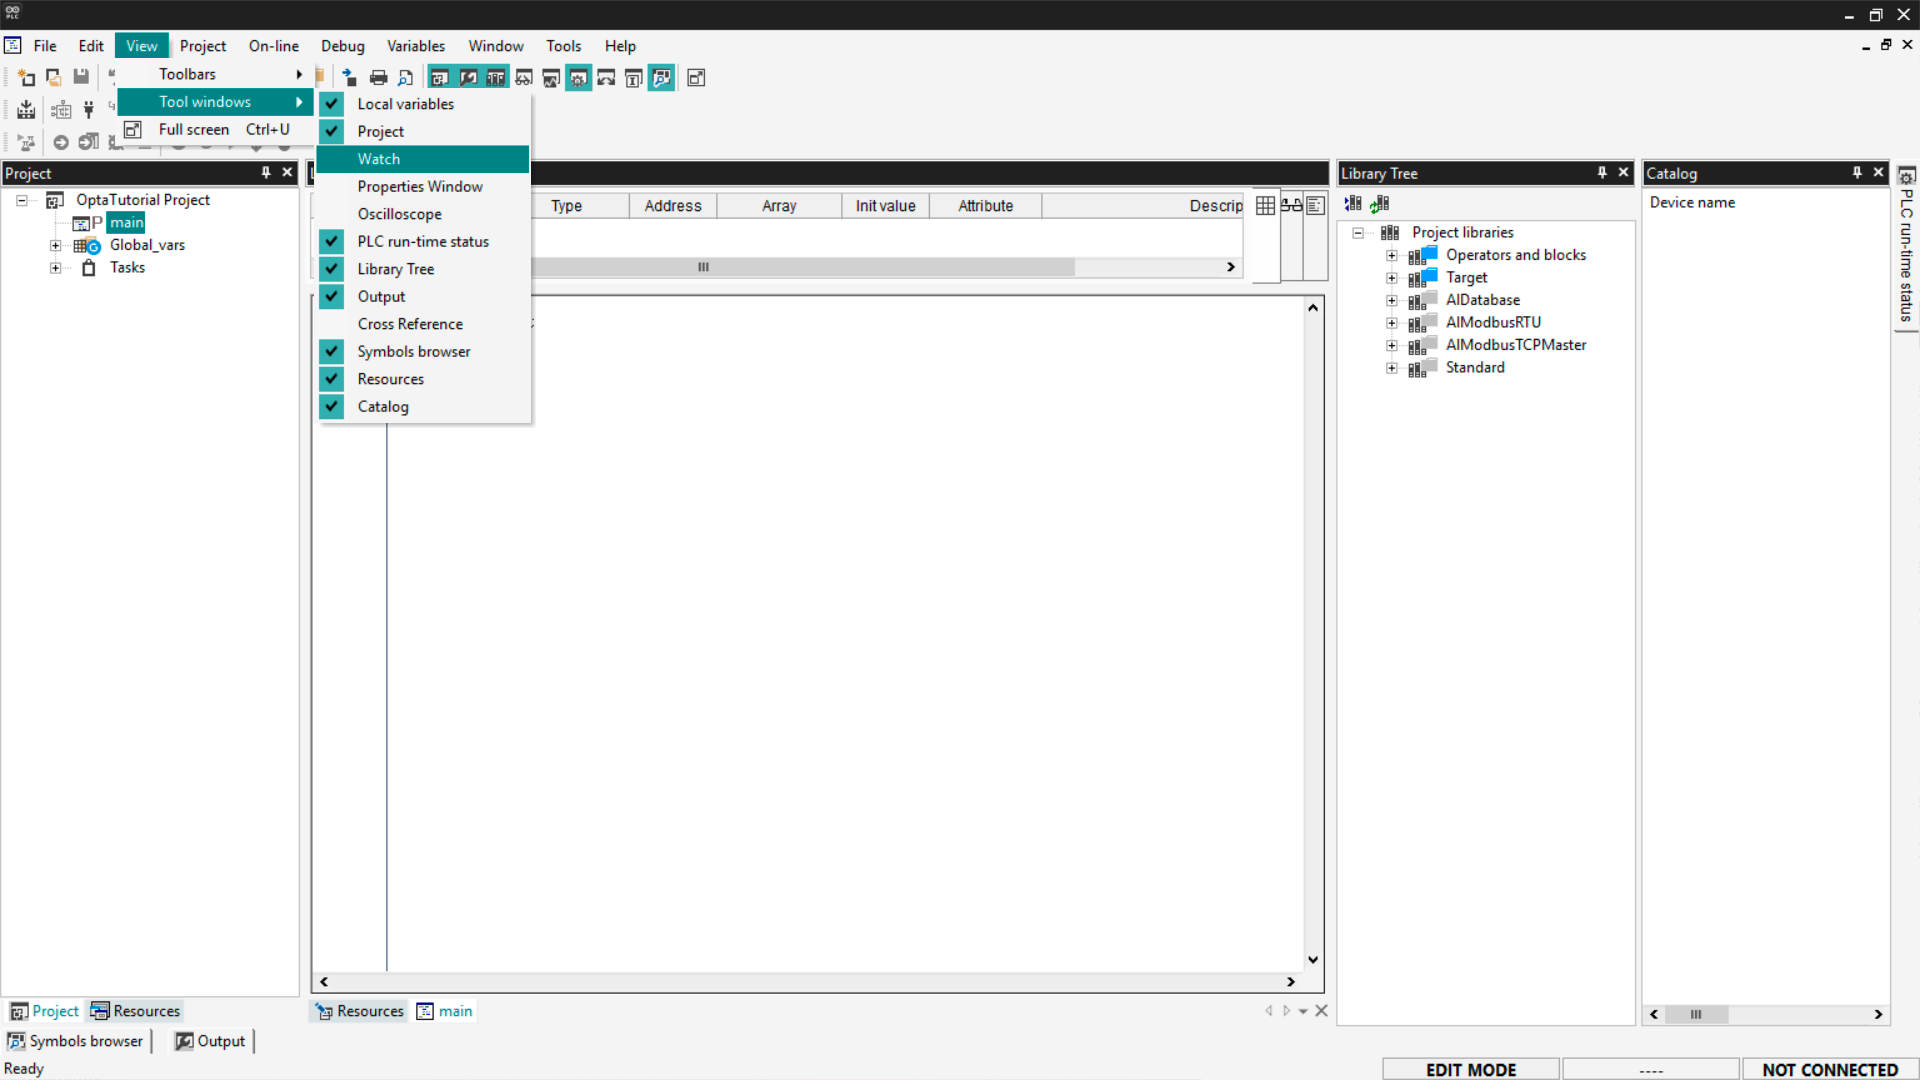
A panel will open on the right with an Insert new item button. Click it.
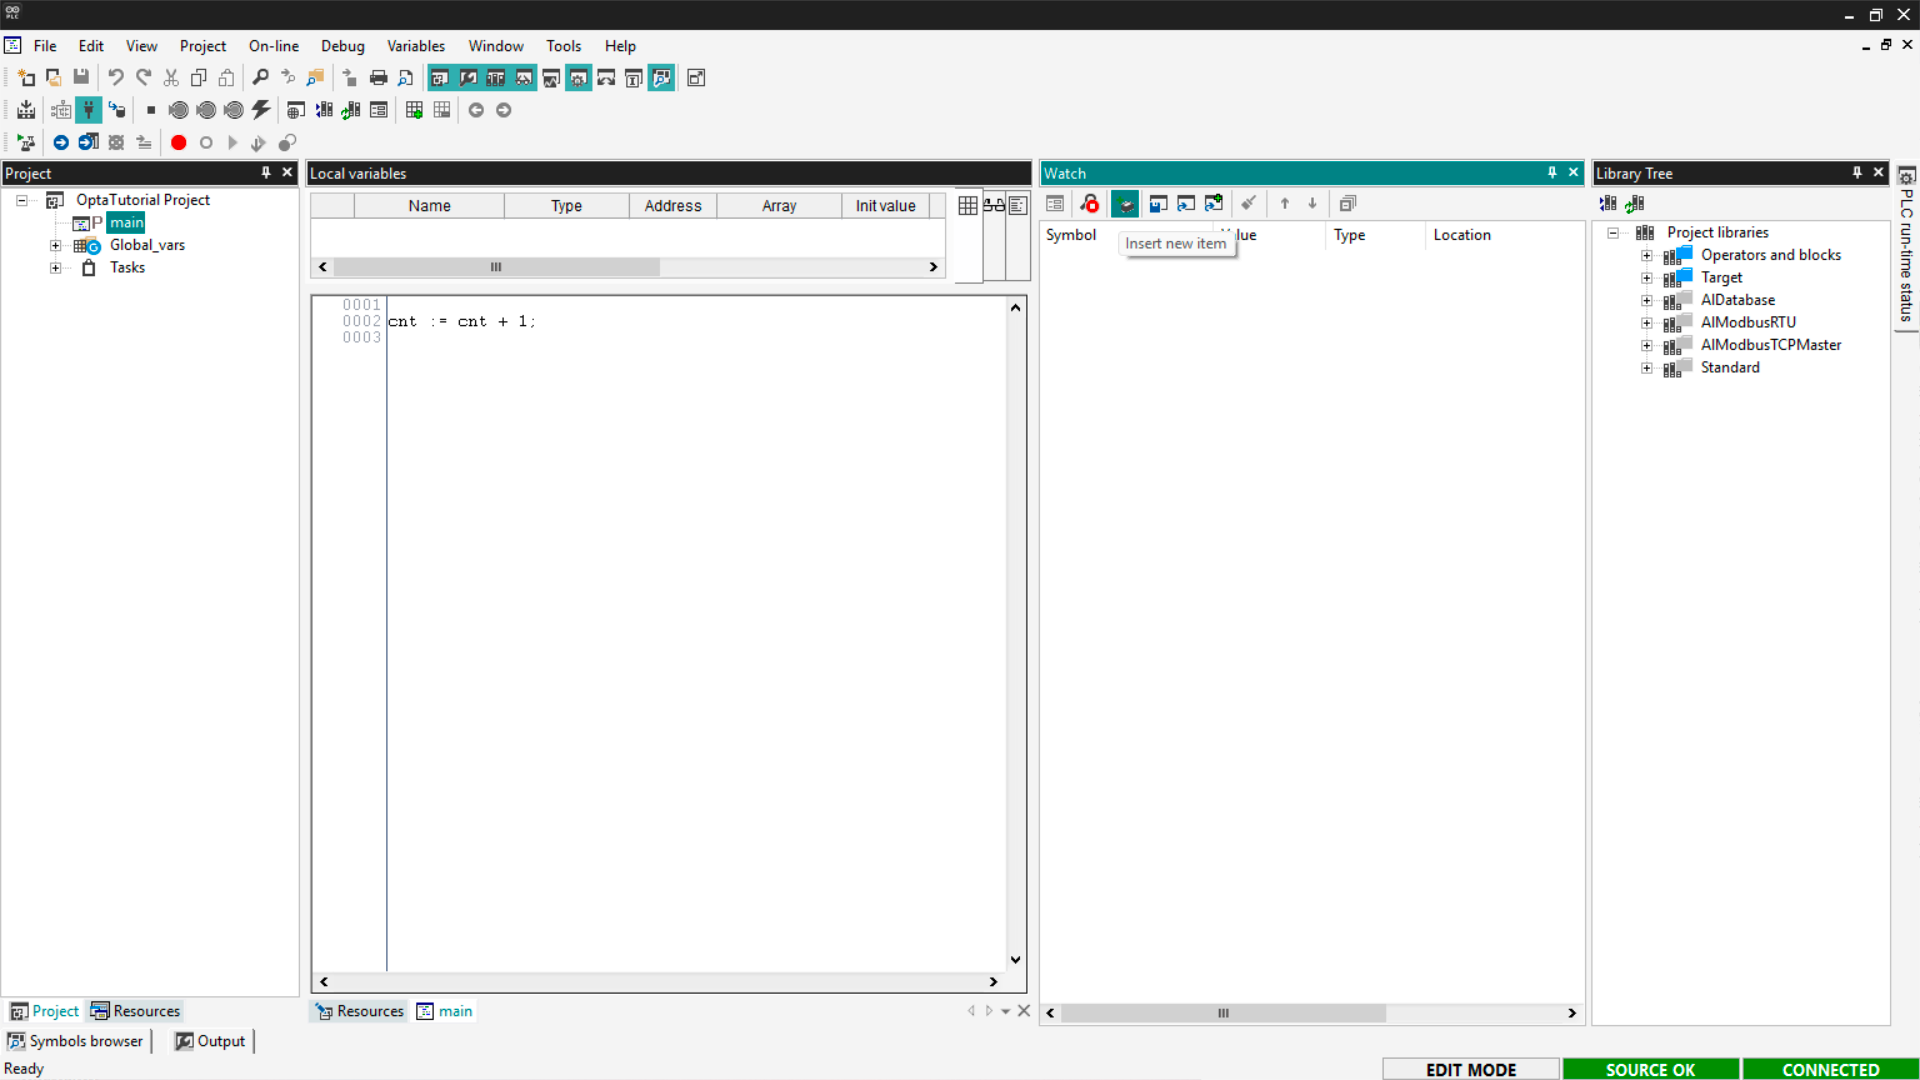
We’re now selecting variables to monitor. Click the first Browse button.
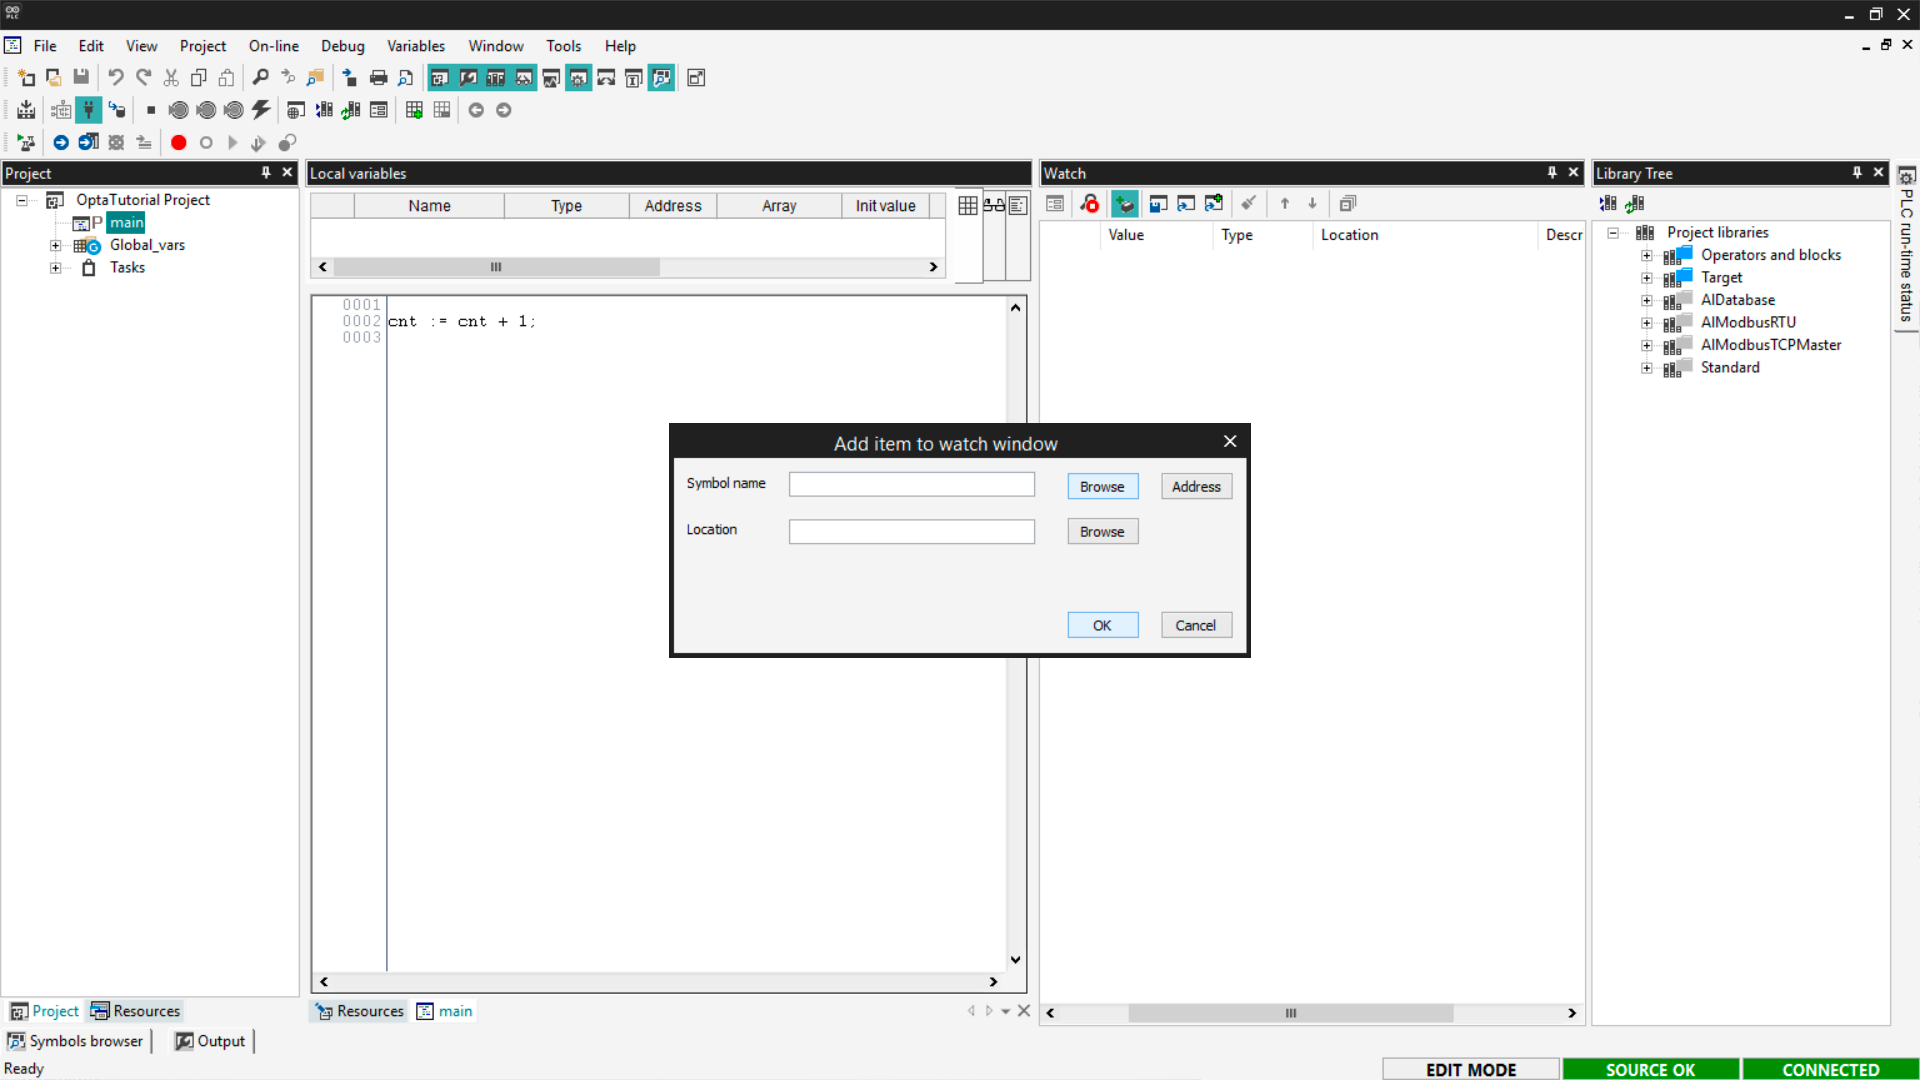
From the program variable list, select cnt, which represents the counter
value.
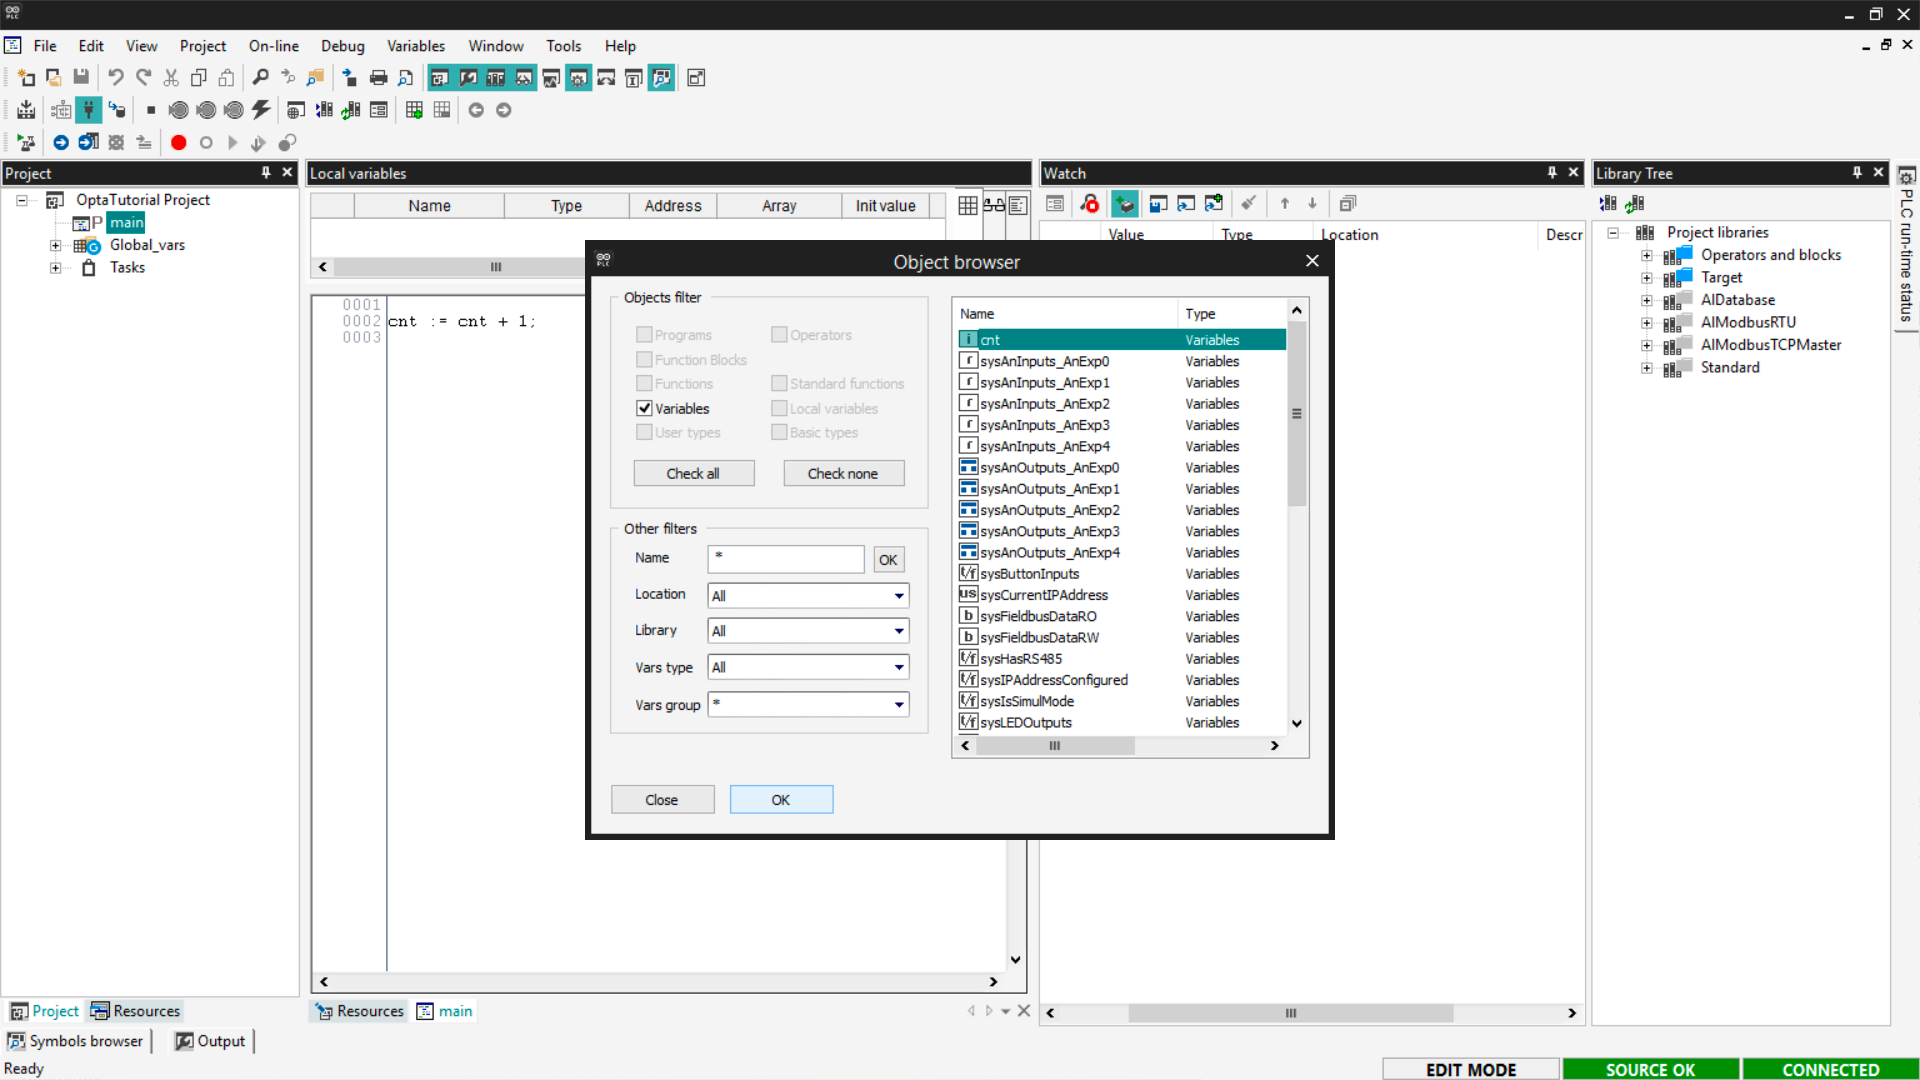
Press OK to apply and close the windows. If the variable is being monitored
correctly, you’ll see a screen like this.
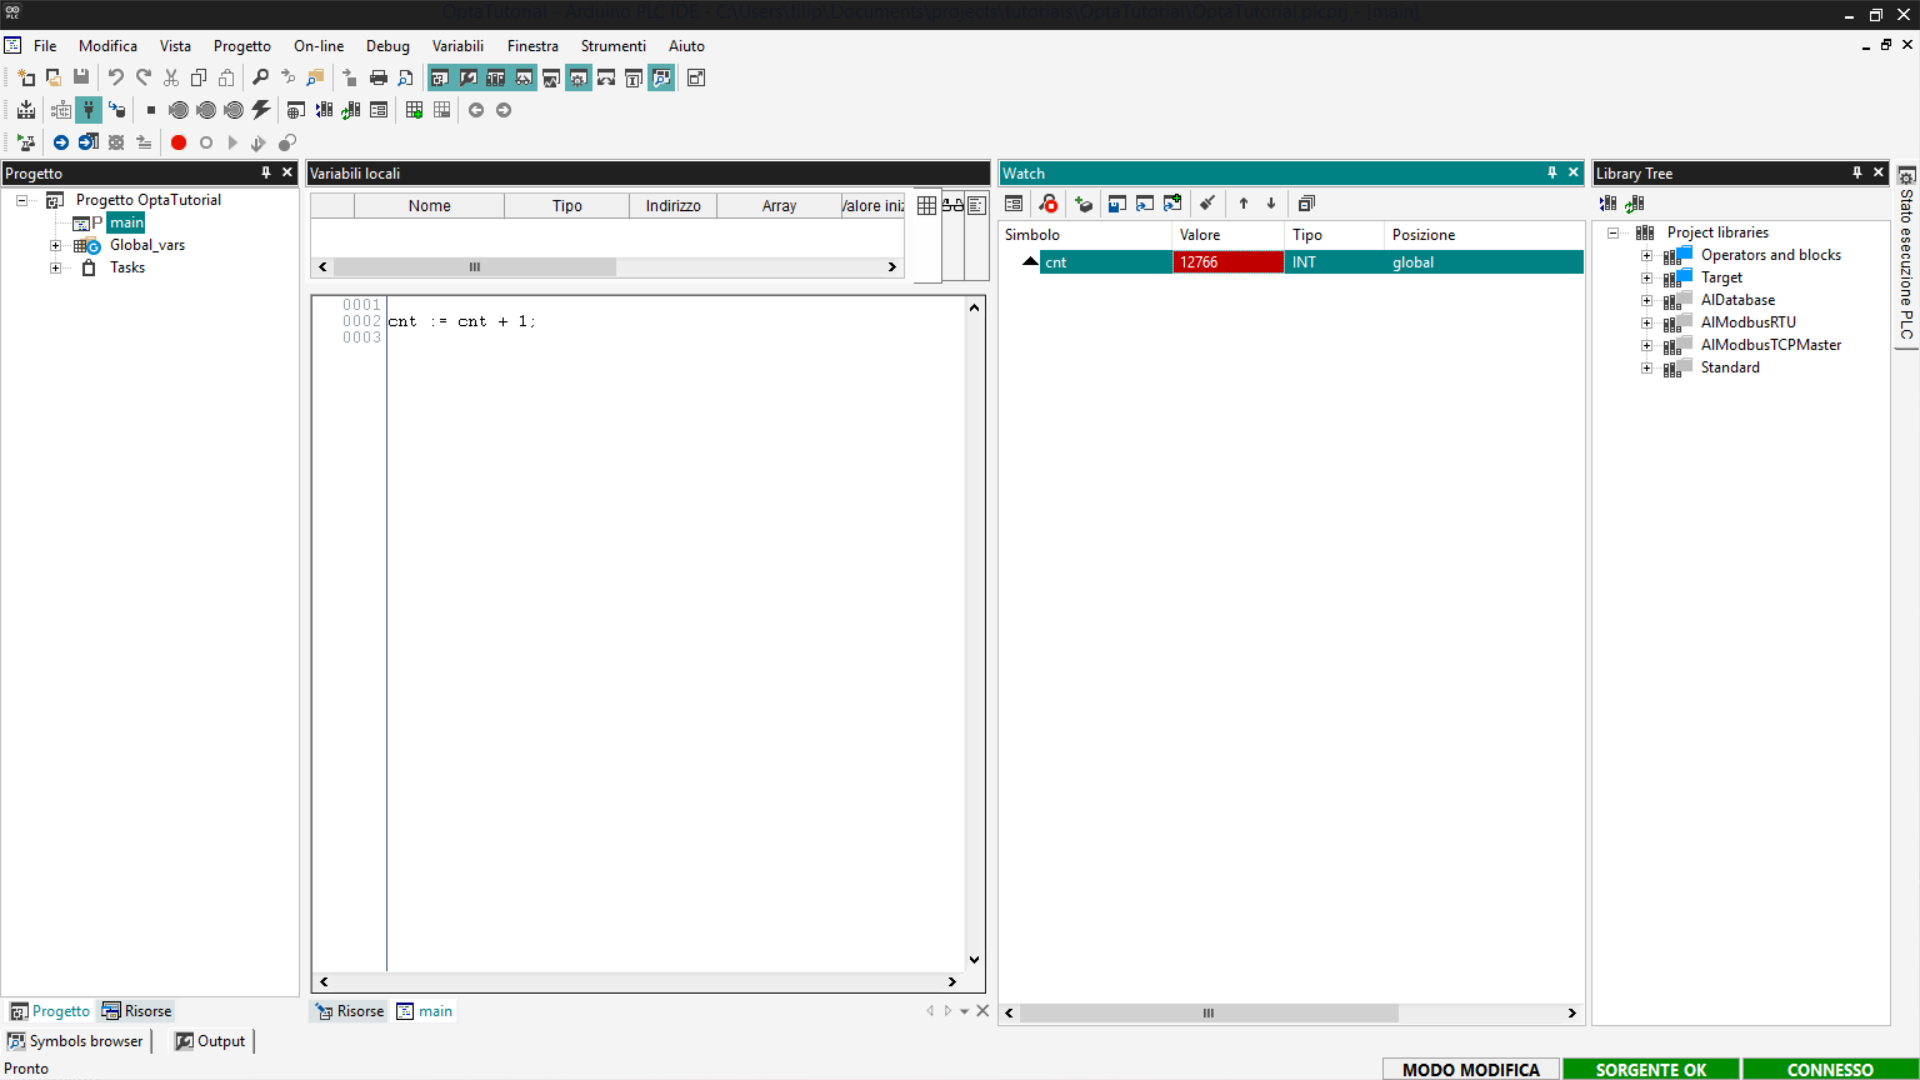
If the cnt counter — inside the highlighted red cell — is constantly
increasing, it means Finder OPTA is executing the code and updating data in
real time inside Arduino PLC IDE.
Conclusion
You have successfully completed the initial setup of Finder OPTA with
Arduino PLC IDE. Now that Finder OPTA is properly configured and fully
operational, you can start exploring the potential of IEC 61131-3
languages.